Chickpea Bread Recipe: Simple, Hearty, and Surprisingly Delicious
If you’ve been looking for a bread that’s a little different from the usual, a chickpea bread recipe might just become your new favorite. It’s hearty, satisfying, and packed with protein the kind of loaf that makes you feel good about every slice.
Whether you’re gluten-sensitive, trying to sneak more plant-based protein into your diet, or simply curious, this bread is worth making. And the best part? It’s genuinely easy.
Why This Bread Is Worth Your Time
Most people don’t think of chickpeas when they think of bread. But honestly, they should.
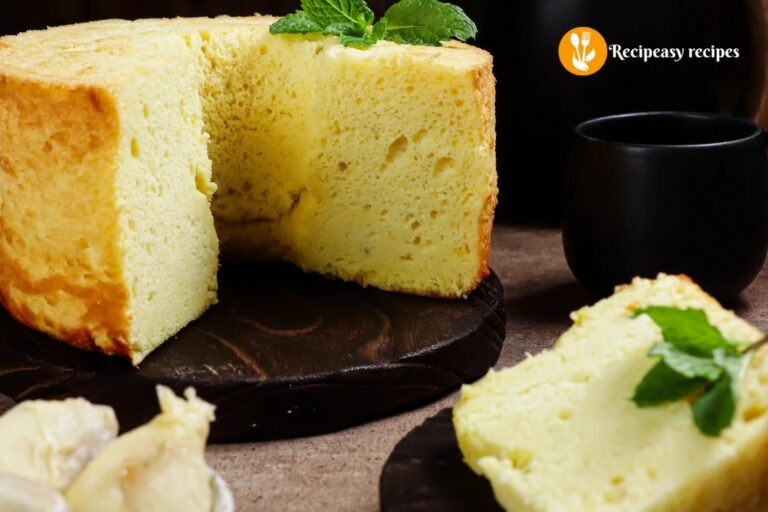
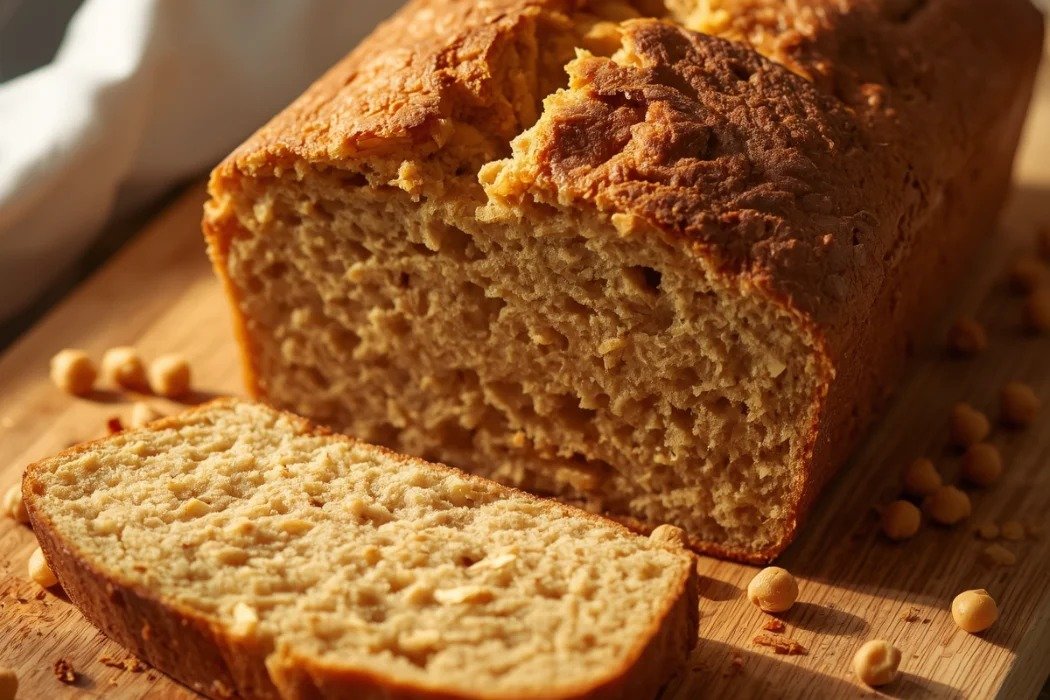
Chickpeas bring a slightly nutty, earthy flavor that pairs beautifully with olive oil, herbs, or even just a smear of butter. They also make the texture wonderfully moist and dense not cakey, just satisfyingly substantial.
Plus, this is one of those recipes that works for almost everyone. You can make it with yeast for a more traditional rise, or go completely no yeast for a quicker, flatbread-style result. Both versions are genuinely the best for different occasions.
What You’ll Need
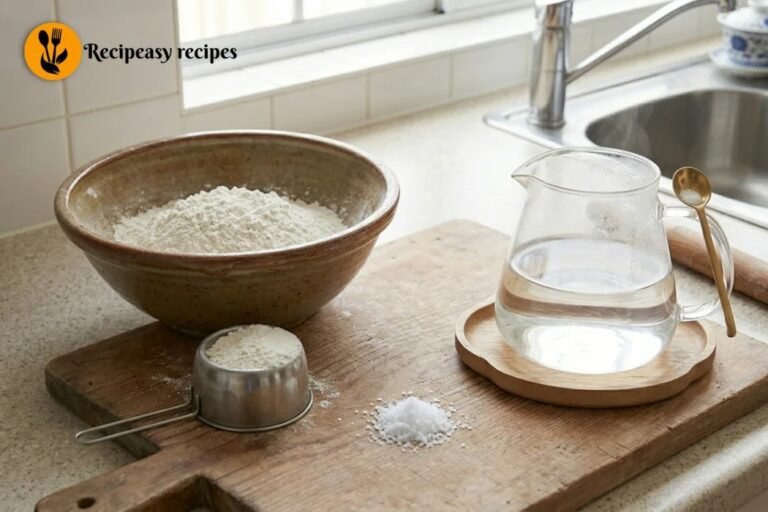
Here’s a look at the core ingredients nothing fancy, nothing hard to find.
For the basic loaf:
- 1 ½ cups chickpea flour (also called gram flour or besan)
- ½ cup all-purpose flour (or use more chickpea flour to keep it gluten-free)
- 1 teaspoon salt
- 1 teaspoon baking powder
- 2 eggs
- ¾ cup warm water or milk
- 3 tablespoons olive oil
- Optional: 1 teaspoon garlic powder, fresh rosemary, or sesame seeds
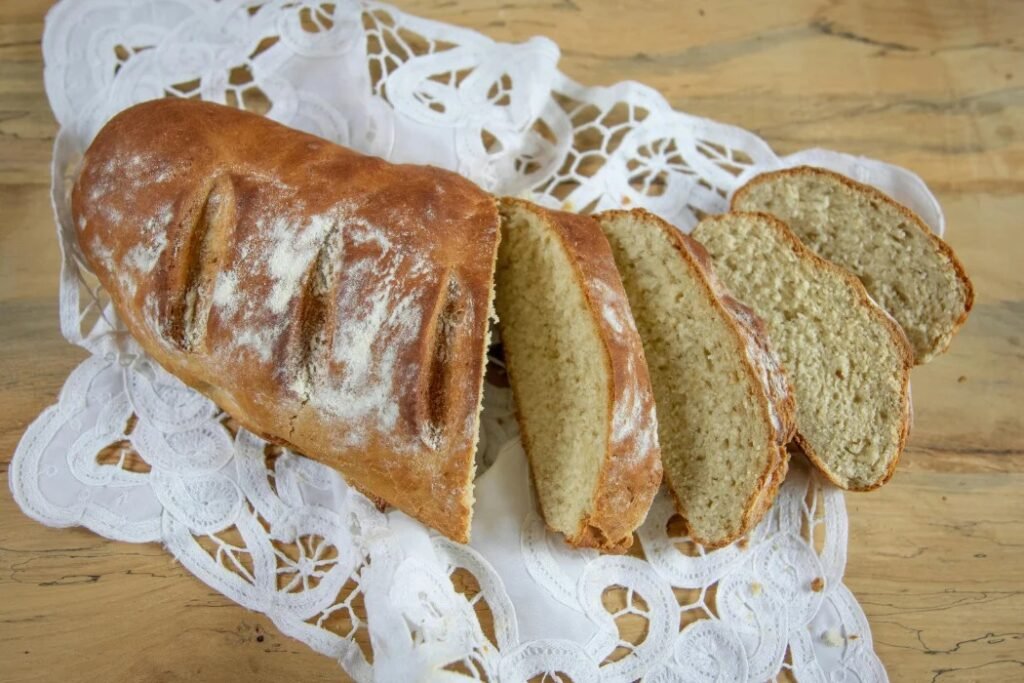
If you’re going the flour with yeast route, simply add 1 teaspoon of active dry yeast dissolved in warm water with a pinch of sugar, and let the dough rest for about 40 minutes before baking.
For a canned chickpea version where you blend drained, cooked chickpeas into a paste instead of using dry flour reduce the flour to ¼ cup and add one can (about 400g) of rinsed chickpeas, blended smooth. The texture comes out a little denser but incredibly moist.
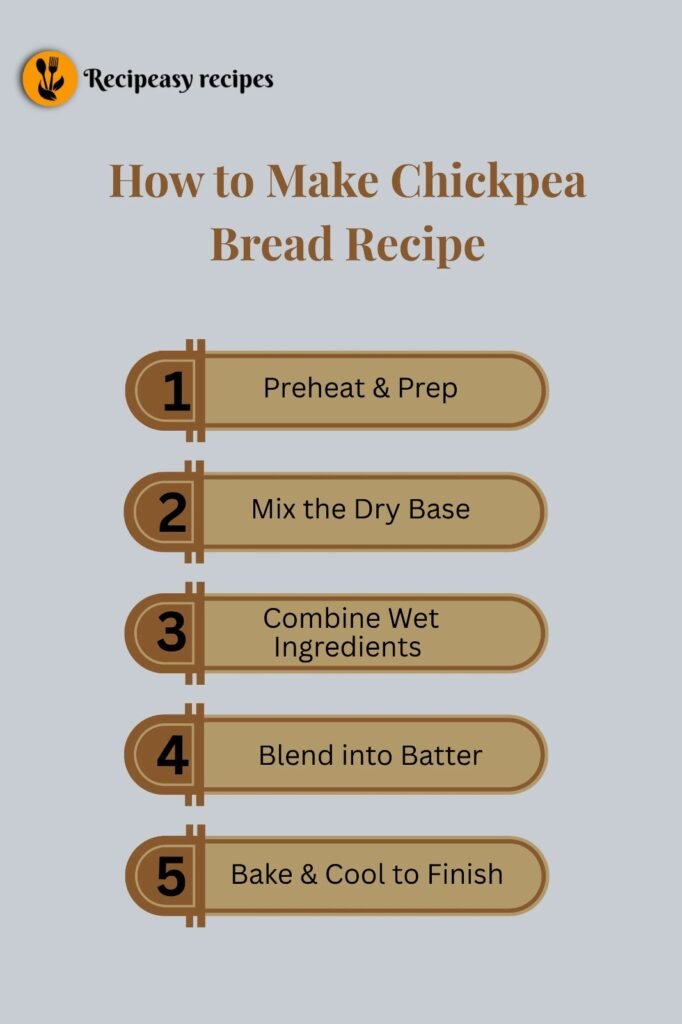
How to Make It, Step by Step
Here’s how to make this loaf from start to finish.
Preheat your oven to 375°F (190°C). Grease a standard loaf pan and set it aside.
In a large bowl, whisk together the chickpea flour, all-purpose flour, salt, and baking powder. If you’re adding spices or dried herbs, toss them in here too.
In a separate bowl, beat the eggs with the olive oil and warm water until combined. Pour the wet ingredients into the dry and stir until you get a thick, smooth batter. It will be thicker than pancake batter but not stiff like dough that’s exactly right.
Pour the batter into your prepared loaf pan and smooth out the top. If you like, scatter some sesame seeds or a pinch of flaky salt over the surface.
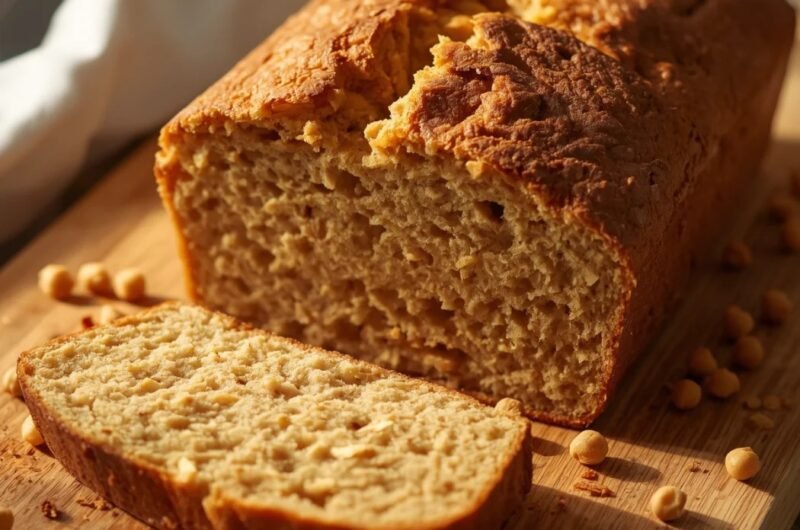
Bake for 35 to 40 minutes, or until the top is golden and a toothpick inserted in the center comes out clean. Let it cool in the pan for 10 minutes, then transfer to a wire rack.
Honestly, the hardest part is waiting for it to cool before cutting.
Little Tips That Make a Big Difference
- Don’t skip the resting time if you’re using yeast. Even 30 minutes makes the texture noticeably better.
- Chickpea flour absorbs liquid slowly, so if your batter looks too thick at first, wait two minutes before adding more water.
- For a simple, crispier crust, brush the top lightly with olive oil before baking.
- If you’re using canned chickpeas, blend them until completely smooth any lumps will create uneven pockets in the bread.
Serving Ideas
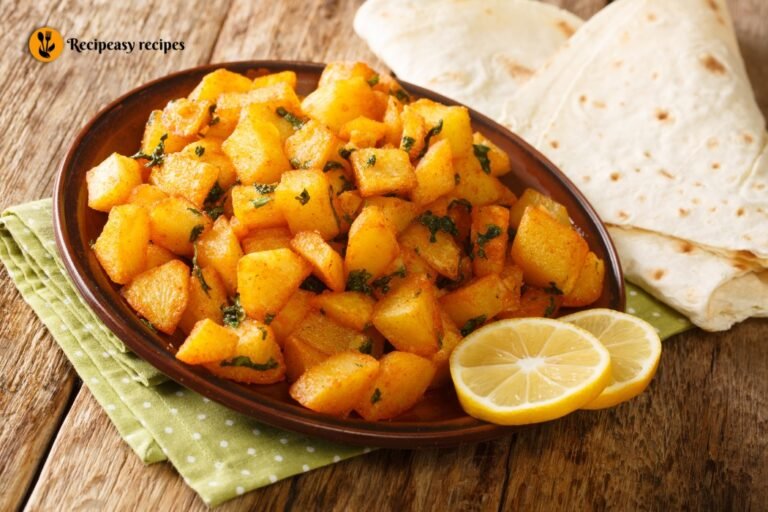
This bread is wonderful warm from the oven with olive oil and a sprinkle of za’atar. It also holds up beautifully as a sandwich base, especially with roasted vegetables or hummus (very on-theme).
Toasted slices with avocado and a soft egg make for a genuinely satisfying breakfast. Alternatively, serve it alongside soups and stews it soaks up broth like a dream.
Storing and Keeping It Fresh
Store leftover bread in an airtight container at room temperature for up to two days. After that, refrigerate it and it’ll keep well for another three to four days.
To freeze, slice the loaf first, wrap individual slices in parchment, and store in a freezer bag for up to two months. Simply toast from frozen whenever the craving hits.
A Bread Worth Bookmarking
Once you try this chickpea bread recipe, it’s the kind of thing that quietly earns a permanent spot in your rotation. It’s wholesome, flexible, and genuinely delicious not in a “healthy food trying hard to be good” way, but in a real, craveable way.
Give it a go this weekend. You might be surprised how often you come back to it.
Chickpea Bread Recipe: Simple, Hearty, and Surprisingly Delicious
Course: BreakfastCuisine: Mediterranean / Middle EasternDifficulty: Easy8
servings10
minutes40
minutes180
kcalThis Chickpea Bread Recipe is a simple, hearty, and protein-packed loaf made with chickpea flour (besan). Perfect for gluten-free diets or anyone looking for a nutritious homemade bread alternative.
Ingredients
1 ½ cups chickpea flour (besan)
½ cup all-purpose flour (optional for non-gluten-free)
1 teaspoon salt
1 teaspoon baking powder
2 eggs
¾ cup warm water or milk
3 tablespoons olive oil
Optional: garlic powder, rosemary, sesame seeds
Optional Yeast Version:
1 teaspoon active dry yeast
Pinch of sugar (to activate yeast)
Canned Chickpea Version:
1 can (400g) chickpeas (blended)
Reduce flour to ¼ cup
Directions
- Preheat oven to 375°F (190°C) and grease a loaf pan.
- In a bowl, mix chickpea flour, all-purpose flour, salt, and baking powder.
- In another bowl, whisk eggs, olive oil, and warm water.
- Combine wet and dry ingredients to form a thick batter.
- Pour batter into loaf pan and smooth the top.
- Add sesame seeds or herbs (optional).
- Bake for 35–40 minutes until golden and cooked through.
- Let cool for 10 minutes, then transfer to rack before slicing.
Notes
- Let batter rest 2–3 minutes before adjusting consistency
- Blend canned chickpeas until completely smooth
- Brush olive oil on top for a crispy crust
- Yeast version improves texture if rested 30–40 minutes