
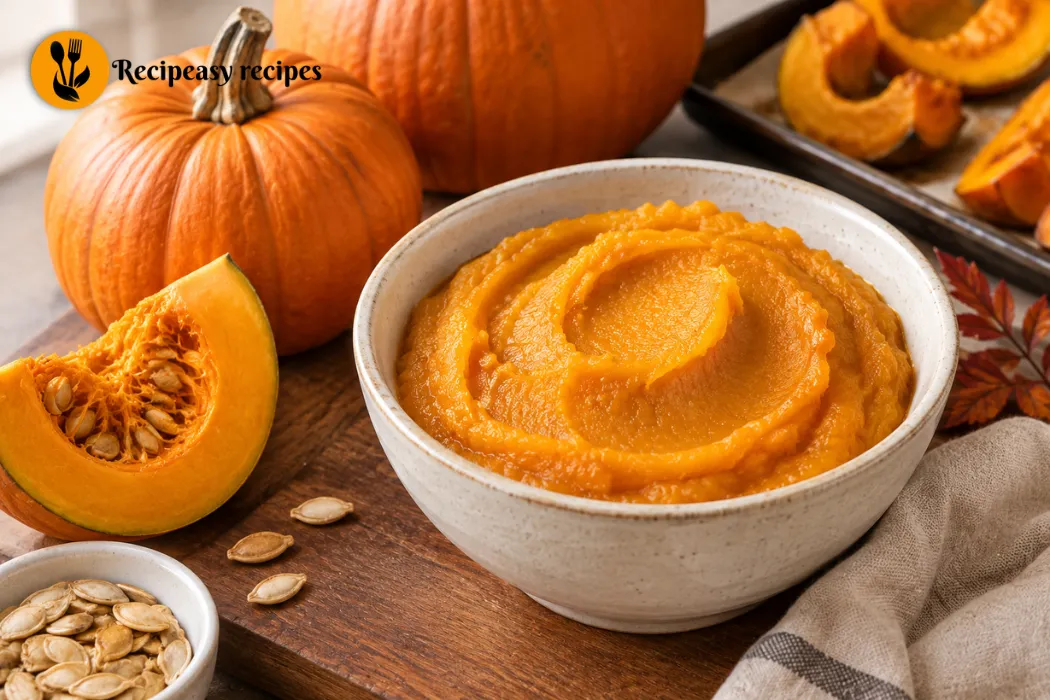
Homemade Pumpkin Puree Recipe: Easy Step-by-Step Guide
There’s something about the first hint of September air that makes us start craving all things pumpkin and if you’re anything like me, that means it’s officially time to stock the kitchen for a full season of cozy baking. From spiced lattes to Halloween treats to Thanksgiving pies, pumpkin is the backbone of fall cooking, and this homemade pumpkin puree is about to become your new go-to. If your favorite fall recipes call for canned pumpkin, this simple swap is going to change the way you bake. It’s smooth, silky, and tastes so much fresher than anything that comes from a can and it only takes a handful of simple steps to make.
Once you try real, fresh pumpkin, you may never go back to the canned stuff again. There’s a depth of flavor here that store-bought versions just can’t match a natural sweetness and richness that makes every pie, muffin, and loaf taste like it came straight from a bakery. Plus, making your own puree means you control exactly what goes into it, with no additives, no preservatives, and no mystery ingredients. Whether you’re prepping for a cozy weekend of fall baking or getting a head start on your Halloween and holiday recipes, this homemade pumpkin puree is the perfect base to build your entire season around.
Why Make Homemade Pumpkin Puree
It’s easy to reach for a can when you’re short on time, but homemade pumpkin puree is worth the extra half hour. Canned pumpkin is often packed with excess water and can taste slightly metallic or one-note, while fresh puree has a natural sweetness and a rounder, more complex flavor that holds up beautifully in pies, breads, and soups. Making it yourself also means you can control the texture silky-smooth for pies, or slightly thicker for muffins and breads that need less liquid.
There’s also a practical upside: pumpkin is everywhere in fall, whether you’re carving one for Halloween or picking up a few extra at the farmers market. Instead of letting leftover pumpkins go to waste, you can turn them into a versatile ingredient that freezes beautifully and keeps your baking stocked all season long.
Best Pumpkins to Use for Puree
Not all pumpkins are created equal when it comes to puree. Skip the large carving pumpkins you’d use for a jack-o’-lantern; they’re bred for size and shape, not flavor, and tend to be watery and stringy. Instead, look for sugar pumpkins (sometimes labeled pie pumpkins or sweet pumpkins). They’re smaller, denser, and have a naturally sweet, rich flesh that’s perfect for baking.
A few things to look for when choosing your pumpkin:
- Size: Aim for pumpkins around 2–4 pounds — smaller pumpkins tend to have sweeter, less watery flesh.
- Weight: Pick it up. A pumpkin that feels heavy for its size usually has denser, more flavorful flesh.
- Skin: Look for a firm, unblemished skin with no soft spots or cracks.
- Stem: A pumpkin with its stem still intact tends to last longer and stay fresher.
If sugar pumpkins aren’t available, butternut squash makes a great substitute and can be prepared using the exact same method below.
What You’ll Need
One of the best things about this recipe is how few ingredients and tools it actually requires.
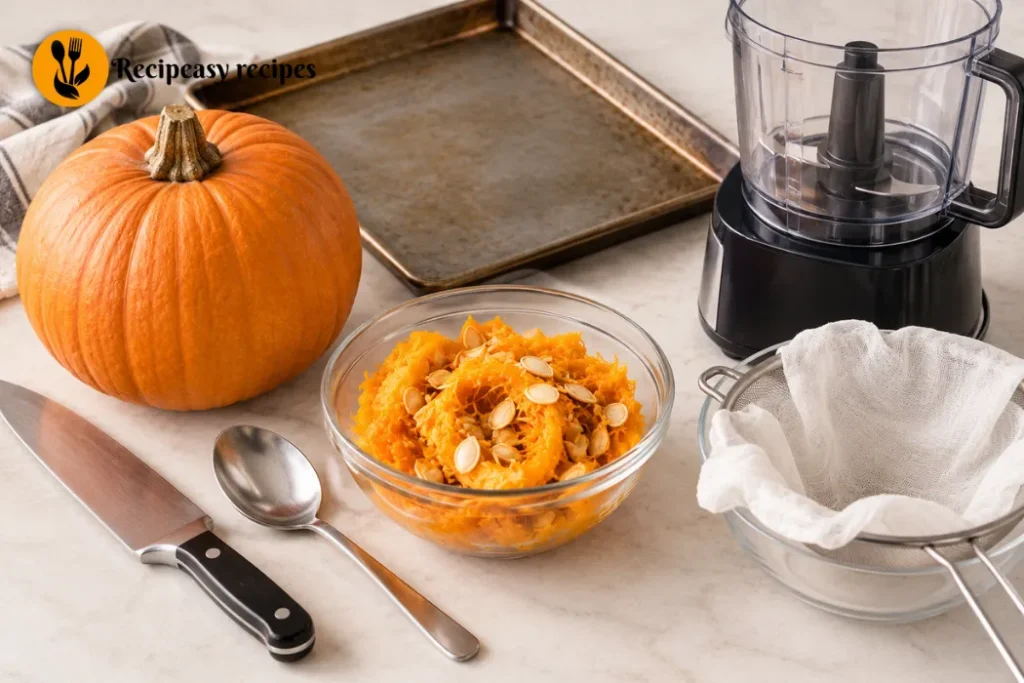
Ingredients:
- 1 sugar pumpkin (about 3–4 pounds)
Tools:
- Sharp knife
- Large spoon (for scooping seeds)
- Baking sheet
- Food processor or blender
- Fine mesh strainer or cheesecloth (optional, for extra-smooth puree)
That’s really it. No added sugar, spices, or preservatives needed — just pure, roasted pumpkin.
How to Make Pumpkin Puree (Step-by-Step)
Making pumpkin puree at home is simpler than most people expect. Here’s exactly how to do it from start to finish.
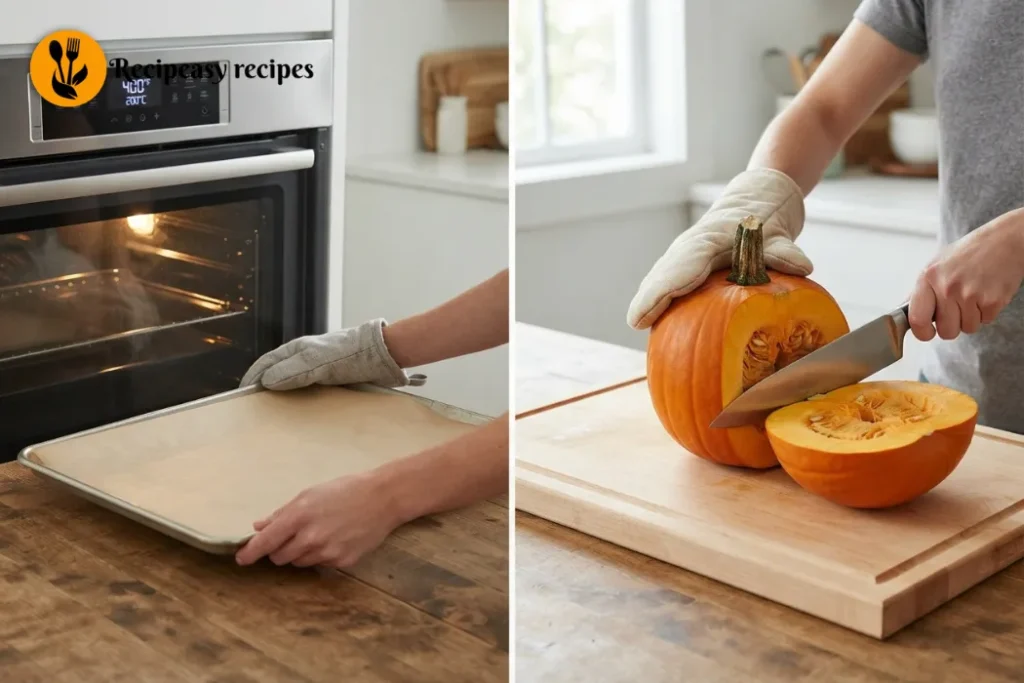
1. Preheat the oven. Set your oven to 400°F (200°C) and line a baking sheet with parchment paper for easy cleanup.
2. Cut the pumpkin in half. Using a sharp knife, carefully slice the pumpkin in half from stem to base. This is the trickiest part of the process, so take your time and use a sturdy cutting board.
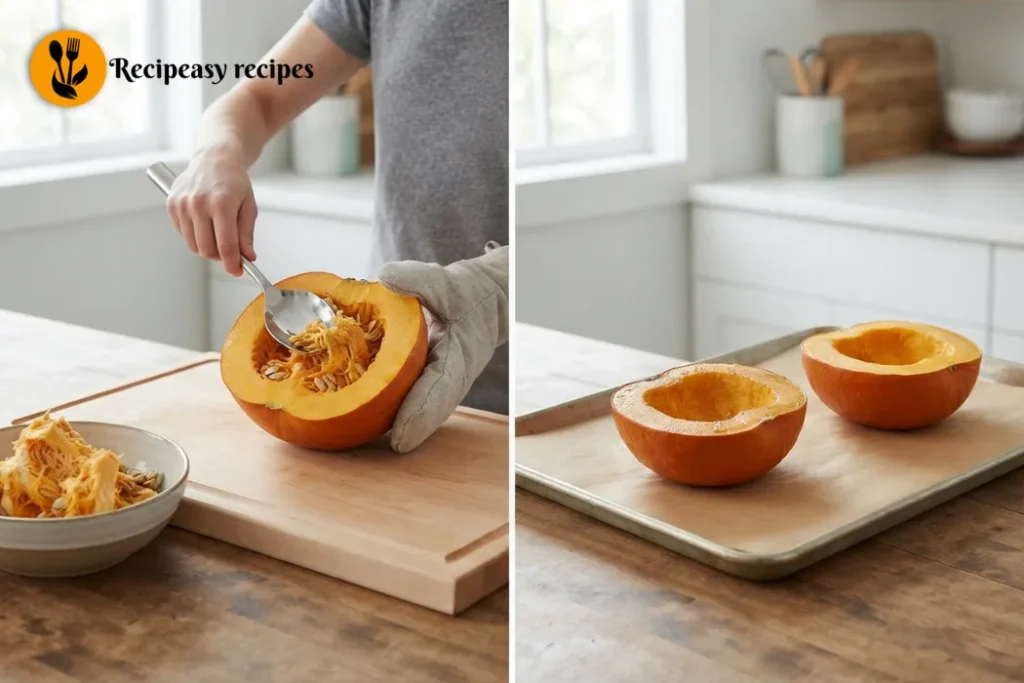
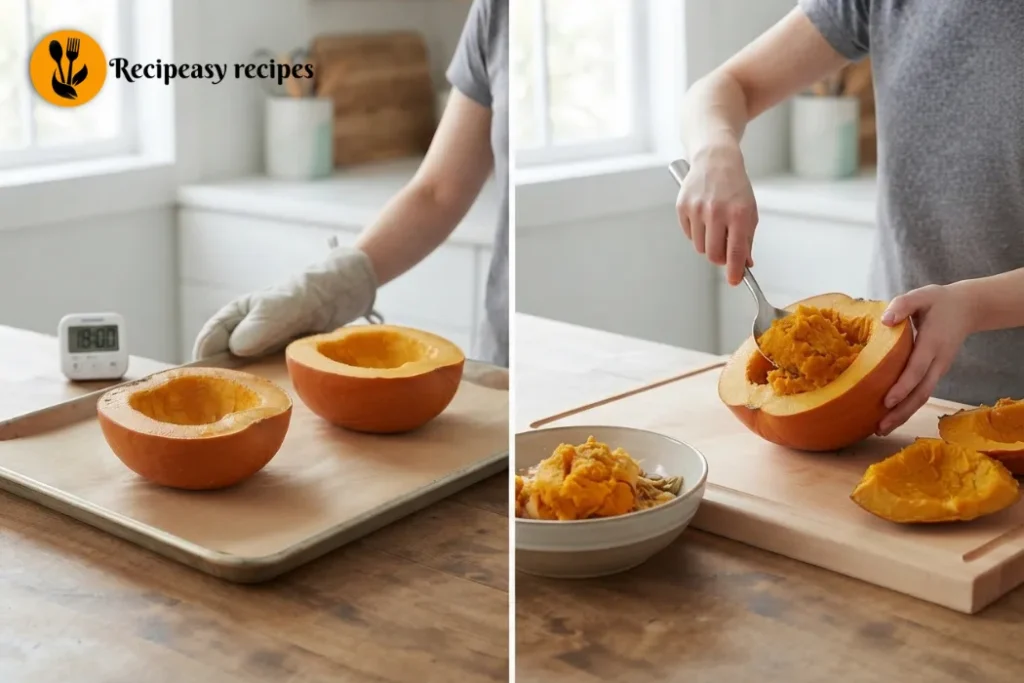
3. Scoop out the seeds and stringy pulp. Use a large spoon to scrape out the seeds and fibrous strands from the center of each half. (Save the seeds if you’d like to roast them separately for a bonus snack.)
4. Roast the pumpkin. Place both halves cut-side down on the prepared baking sheet. Roast for 40–50 minutes, or until the flesh is completely tender and a fork slides in easily.
5. Let it cool. Remove the pumpkin from the oven and let it cool for about 15–20 minutes, or until it’s safe to handle.
6. Scoop out the flesh. Once cooled, scoop the soft pumpkin flesh away from the skin and discard the skin.
7. Blend until smooth. Transfer the pumpkin flesh to a food processor or blender and blend until completely smooth and creamy, scraping down the sides as needed.
8. Strain if needed. If your puree seems watery, pour it into a fine mesh strainer lined with cheesecloth and let it drain for 30 minutes to an hour. This extra step gives you a thicker, more concentrated puree, especially helpful for pie recipes.
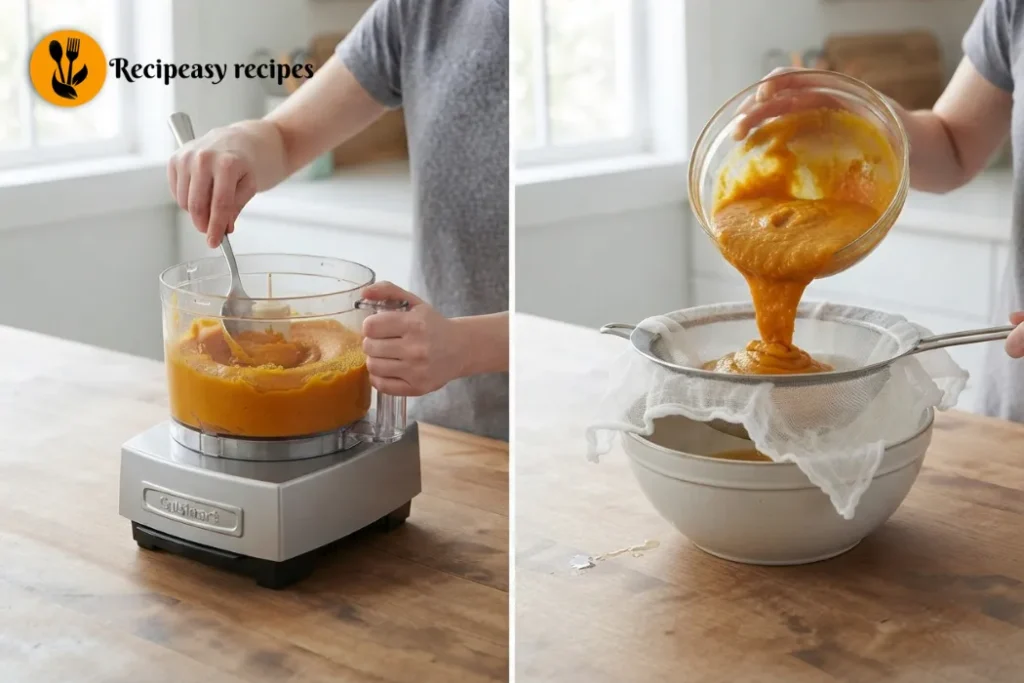
And that’s it your homemade pumpkin puree is ready to use in any recipe that calls for canned pumpkin.
Roasting vs. Boiling vs. Instant Pot Method
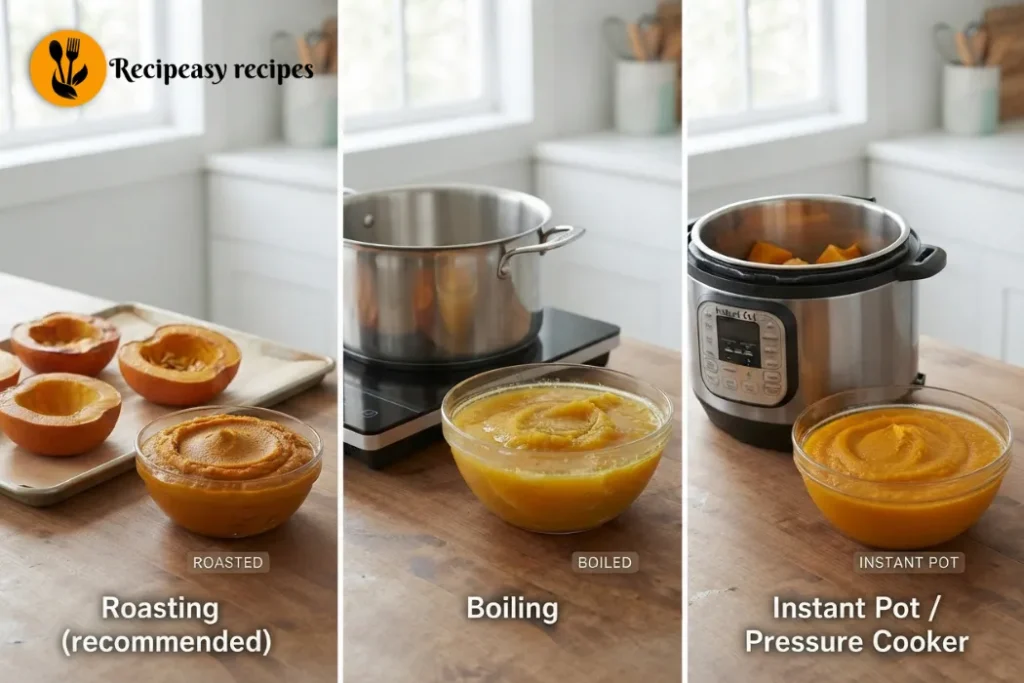
While roasting is the method we recommend for the best flavor, it’s not the only way to cook down a pumpkin. Here’s how the other popular methods compare:
- Roasting (recommended): Produces the deepest, most caramelized flavor and the driest flesh, which means less straining later. It takes about 45–60 minutes total.
- Boiling: Faster, but the pumpkin absorbs water as it cooks, resulting in a wetter puree that almost always needs straining. Best if you’re short on time.
- Instant Pot / Pressure Cooker: A great hands-off option pumpkin chunks cook in about 10–15 minutes under pressure. The texture is close homemade pumpkin pureeto roasting, though the flavor is slightly less concentrated since there’s no caramelization.
If flavor is your top priority, stick with roasting. If speed is what you need on a busy weeknight, boiling or pressure cooking will get you a usable puree faster.
How to Store Homemade Pumpkin Puree
Once your puree is ready, proper storage keeps it fresh and ready to use whenever a recipe calls for it.
- Refrigerator: Store in an airtight container for up to 5–7 days.
- Freezer: Pumpkin puree freezes exceptionally well. Portion it into freezer bags or airtight containers — freezing in 1-cup or 2-cup portions makes it easy to grab exactly what a recipe calls for. Lay bags flat to freeze for quicker thawing and easier stacking.
- Ice cube trays: For smaller amounts (great for smoothies or oatmeal), freeze puree in ice cube trays, then transfer the frozen cubes to a freezer bag.
To thaw, simply move it to the refrigerator overnight, or thaw it gently on the stovetop or in the microwave if you need it sooner.
How Long Does Pumpkin Puree Last
Homemade pumpkin puree lasts about 5 to 7 days in the refrigerator when stored in an airtight container. In the freezer, it stays fresh for up to 3 months without a significant drop in flavor or texture. After that, it’s still safe to eat but may start to lose some of its fresh flavor, so it’s best used within that window for the tastiest results.
Tips for the Best Homemade Pumpkin Puree
- Choose the right pumpkin. Sugar or pie pumpkins will always give you better flavor and texture than carving varieties.
- Roast cut-side down. This helps the pumpkin steam in its own moisture, keeping the flesh tender without drying out.
- Drain excess liquid. If your puree looks watery, don’t skip the straining step — it makes a noticeable difference in baked goods, especially pies.
- Blend until silky. Take the extra minute or two to blend thoroughly; a few lumps can throw off the texture of delicate recipes like cheesecake or custard.
- Don’t add spices yet. Keep your base puree plain so it stays versatile — you can always add cinnamon, nutmeg, or sugar later depending on the recipe.
Recipes to Make With Pumpkin Puree
Now that you’ve got a batch of fresh puree ready to go, here are a few delicious ways to put it to use this fall:
- Classic Pumpkin Pie
- Pumpkin Bread or Muffins
- Pumpkin Spice Latte
- Creamy Pumpkin Soup
- Pumpkin Pancakes or Waffles
- Pumpkin Cheesecake
Frequently Asked Questions
Is homemade pumpkin puree the same as canned pumpkin? They’re similar, but homemade puree typically has a fresher, more natural flavor and a texture you can customize. Canned pumpkin is convenient and consistent, but often tastes flatter by comparison.
Can I use any pumpkin to make puree? Technically yes, but sugar or pie pumpkins give the best results. Large carving pumpkins tend to be watery and less flavorful.
Do I need to peel the pumpkin before roasting? No — roast it with the skin on, then scoop out the flesh once it’s cooked and cooled. The skin comes away easily and this method keeps the flesh moist while roasting.
Can I make pumpkin puree without an oven? Yes. You can boil pumpkin chunks until fork-tender or use an Instant Pot for a faster, hands-off method (see the comparison above).
How do I know if my puree has gone bad? Look for a sour smell, discoloration, or mold. When properly stored, homemade puree should stay fresh for up to a week in the fridge or three months in the freezer.
Final Thoughts
At the end of the day, this Homemade Pumpkin Puree proves that a small amount of effort can make a big difference in flavor. It’s fresh, it’s simple, and it upgrades every fall recipe you use it in. So the next time pumpkin season rolls around, skip the can and make a batch yourself.

One Comment