Ahi Tuna Recipe – Easy Pan-Seared Tuna with Crispy Crust
I recently tried this ahi tuna recipe, and I must say it completely changed the way I look at seafood dishes. The crisp sear on the outside and the buttery, rare center makes it feel like something you’d find at a fine dining restaurant, yet it’s surprisingly simple to make at home.
This recipe has become one of my go-to dishes at home. It’s quick, full of flavor, and ideal whether you’re planning a light dinner or want to impress someone with your cooking skills.
Recipe Background & Origin
Ahi’ is a Hawaiian word that refers to yellowfin or bigeye tuna. Traditionally enjoyed raw as poke, it was later embraced in Western cuisine with a quick sear. This method allows the fish to retain its tender core while developing a flavorful crust a fusion of tradition and innovation.
What Is Ahi Tuna Recipe?
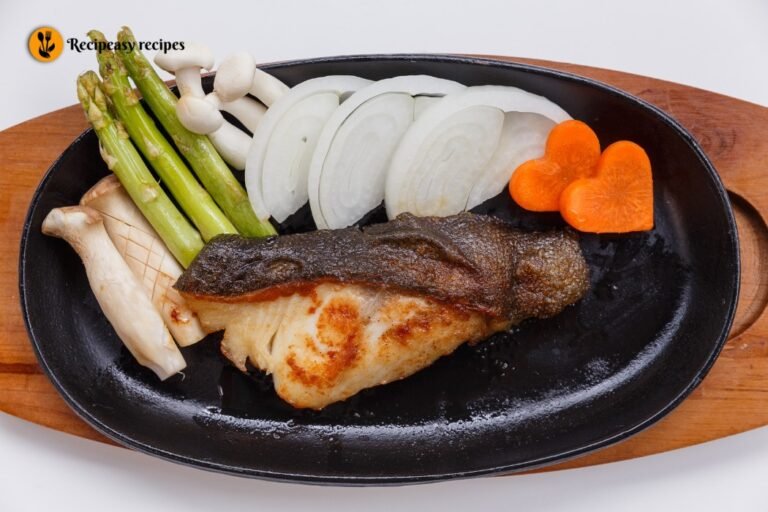
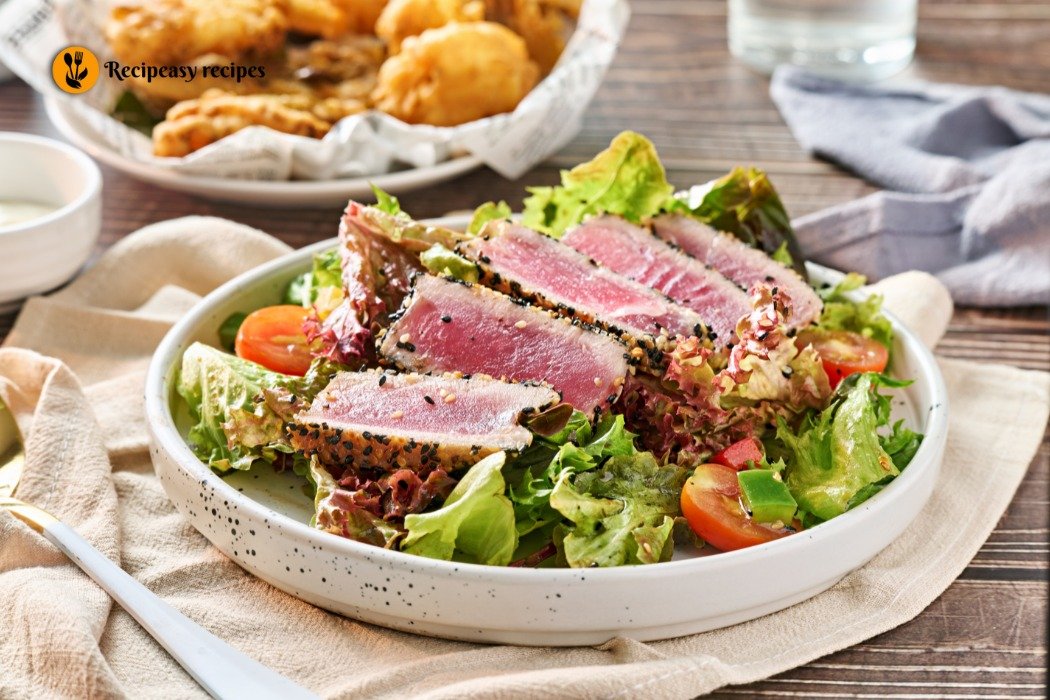
Ahi tuna is pan-seared for a short time over high heat, resulting in a beautifully browned outer layer and a pink, sushi-style interior. The minimal seasoning lets the fresh, oceanic flavor of the tuna shine through, creating a balanced, elegant dish.
Why Stands Out This Recipe?
This seared ahi tuna recipe isn’t just another seafood dish it stands out because it offers the perfect balance of flavor, health, and simplicity. Here’s why it deserves a spot in your kitchen:
- Elegant yet easy: Achieve restaurant-quality results in under 15 minutes.
- Clean and nutritious: It’s packed with protein and omega-3s, and doesn’t contain any unnecessary additives.
- Versatile: Great for light lunches, fancy dinners, or protein-packed meal prep.
- Visually stunning: The seared crust and ruby-pink center make for a beautiful plate.
- Customizable: Easy to tweak with spices, sauces, or different sides.
This is one of those recipes that makes you look like a pro, even if you didn’t spend hours cooking.
Equipment Needed
You’ll need the following tools to prepare seared ahi tuna:
- Cast-iron or non-stick skillet – for even, hot searing
- Kitchen tongs – to turn the fish without damaging it
- Sharp slicing knife – for clean presentation
- Mixing bowl – to mix marinade or coat with spices
- Paper towel-lined plate – for resting the fish post-cooking
Having the right tools makes it easy to get that perfect sear and clean slice.
Ingredients List
Here’s everything you’ll need:
- 2 sushi-grade ahi tuna steaks (6–8 oz each)
- 2 tbsp high-smoke-point oil (avocado or canola)
- 1 tsp sea salt
- ½ tsp freshly ground pepper
- Optional: sesame seeds, lemon zest, soy sauce, or wasabi
- Garnish ideas: microgreens, scallions, or toasted sesame oil
Every ingredient enhances the tuna’s clean, natural flavor.
Step-by-Step Preparation of Ahi Tuna
- Dry the tuna steaks: using paper towels to remove excess moisture. This step is key to getting a nice, flavorful sear.Moisture creates steam, which prevents the tuna from developing that perfect golden crust.
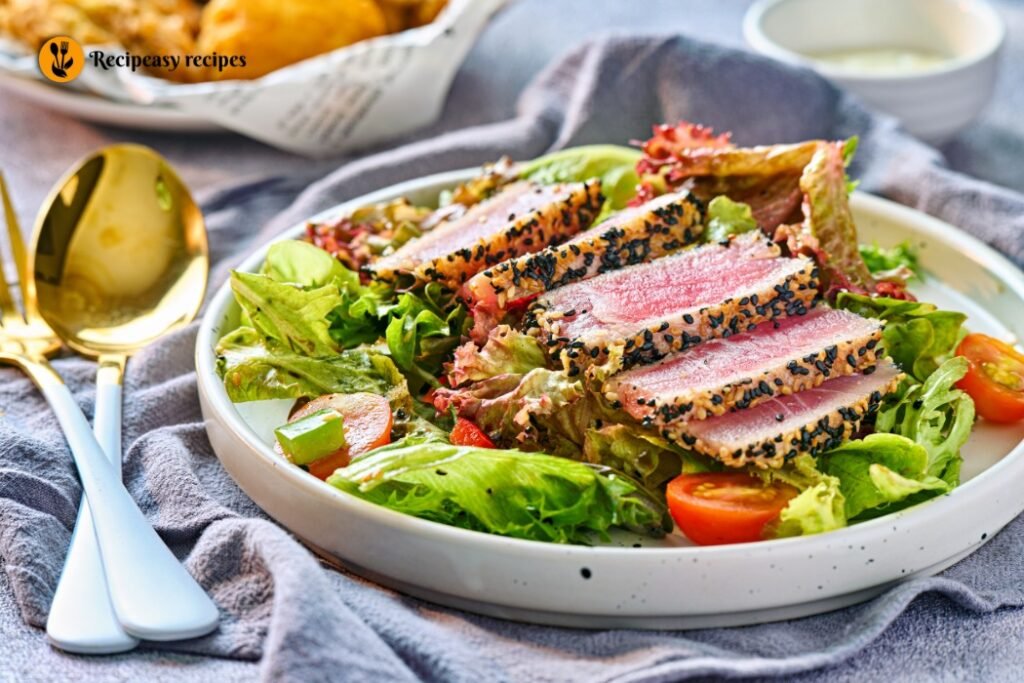
- Season both sides: with salt, pepper, and sesame seeds if desired. These basic seasonings enhance the tuna’s natural flavor. For an added layer of taste, gently press the sesame seeds into the surface so they adhere well.
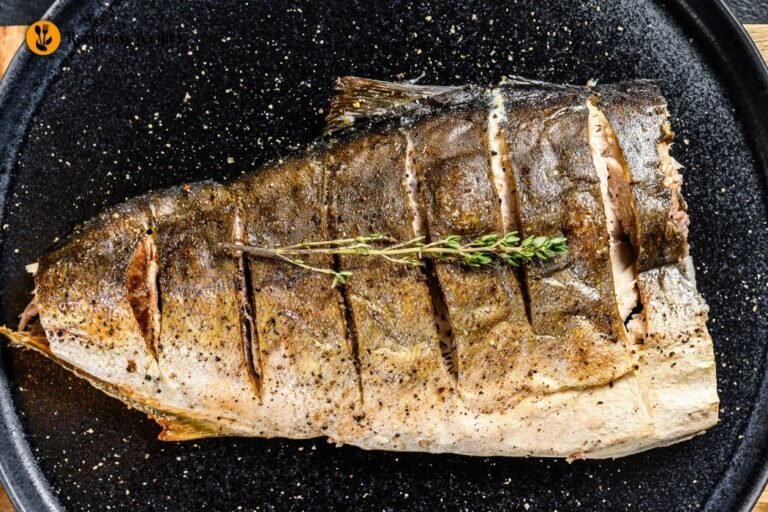
- Preheat your skillet: over medium-high heat until it just begins to smoke. A hot pan is essential. It ensures the tuna sears quickly, locking in moisture and creating that beautiful crust.
- Add oil: Pour in the oil and gently swirl the pan so it coats the surface evenly. Use a high-smoke-point oil like avocado or canola to avoid burning and to handle the heat needed for a proper sear.
- Place tuna steaks: into the skillet gently. Let them cook undisturbed for 1–2 minutes. Don’t press down or move them this allows a crust to form and helps with even browning.
- Flip and cook: the other side for another 1–2 minutes. This short cook time keeps the inside rare and tender, which is how ahi tuna is traditionally enjoyed. Cook longer if you prefer it more done.
- Transfer to a plate: and let rest 3–4 minutes. Resting helps redistribute juices and prevents them from running out when sliced.
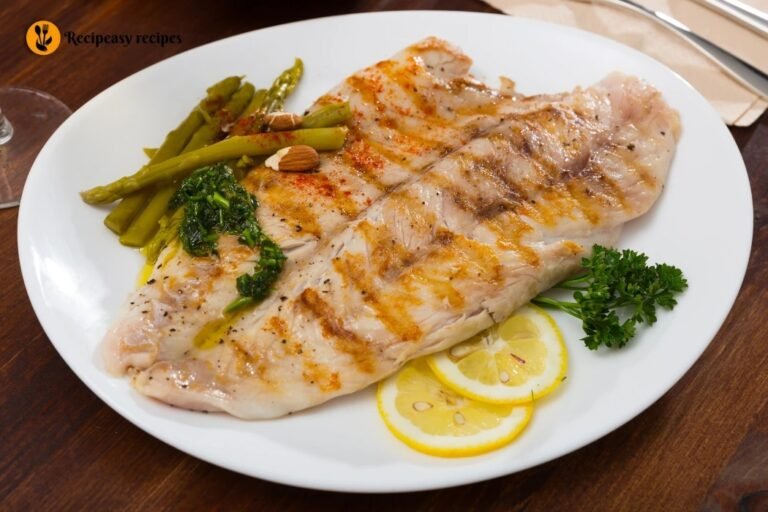
- Slice thinly against the grain: for best texture. Cutting against the muscle fibers makes each bite tender and enhances the presentation.
Done right, your tuna should be golden and crisp on the outside, yet ruby pink, moist, and tender on the inside truly restaurant-quality at home.
Nutrition Information of Recipe
Approximate values per serving:
- Calories: ~280
- Protein: 38g
- Healthy fats: 14g
- Carbohydrates: 0g
- Rich in Omega‑3s and B-vitamins
A well-balanced choice for those on high-protein or low-carb diets.
Is It Safe to Eat Raw Ahi Tuna?
Yes, but only if it’s sushi-grade or sashimi-grade terms that indicate the tuna has been frozen to temperatures that kill parasites. Always buy from a trusted fishmonger or grocery store with proper labeling. Never use standard supermarket tuna unless marked safe for raw consumption.
What to Serve With Seared Ahi Tuna
Enhance your tuna with sides that add texture and flavor contrast:
- Asian slaw with sesame dressing
- Chilled soba noodles with soy and scallions
- Coconut rice or quinoa
- Steamed vegetables or pickled ginger
- Dipping sauces: Ponzu, soy, or spicy mayo
Keep the sides light and fresh to let the tuna remain center stage.
Common Mistakes To Avoid When Cooking Ahi Tuna
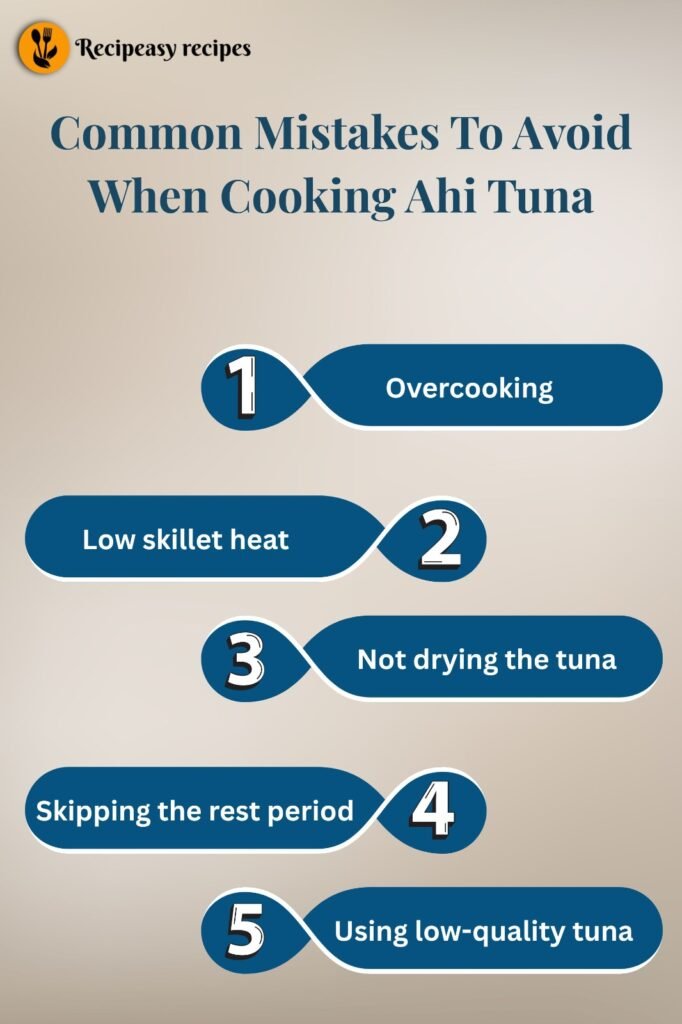
- Overcooking – tuna becomes dry and chewy if cooked through.
- Low skillet heat – leads to poor sear and grayish color.
- Not drying the tuna – results in steaming instead of searing.
- Skipping the rest period –If you skip the resting time, the juices will spill out when you slice it.
- Using low-quality tuna – impacts both safety and taste.
FAQs
1. What is seared ahi tuna?
Ahi tuna seared quickly on the outside, raw or rare inside.
2. Which type of tuna works best for this recipe?
Choose sushi-grade yellowfin or bigeye tuna.
3. Can I cook it all the way through?
Yes, but it will change the texture. Cook 3–4 minutes per side.
4. Can I season it ahead of time?
Yes, but avoid over-marinating 15–30 minutes is ideal.
5. Should I slice before or after cooking?
Always slice after cooking and resting for the best result.
Final Thought
This ahi tuna recipe blends simplicity with elegance. The quick sear locks in flavor while keeping the center tender and vibrant. It’s a healthy, protein-rich option that doesn’t sacrifice taste. Whether for weeknight dinners or special meals, it delivers every time. Try it once, and it might just become your go-to seafood dish.

Ahi Tuna Recipe – Easy Pan-Seared Tuna with Crispy Crust
Course: DinnerCuisine: HawaiianDifficulty: Easy2
servings5
minutes4
minutes280
kcalSeared ahi tuna recipe with a crispy crust and tender, ruby-pink center. A quick, healthy, and restaurant-quality seafood dish ready in under 15 minutes.
Ingredients List
2 sushi-grade ahi tuna steaks (6–8 oz each)
2 tbsp high-smoke-point oil (avocado or canola)
1 tsp sea salt
½ tsp freshly ground pepper
Optional: sesame seeds, lemon zest, soy sauce, or wasabi
Garnish ideas: microgreens, scallions, or toasted sesame oil
Step-by-Step Preparation of Ahi Tuna
- Dry the tuna steaks using paper towels to remove excess moisture. This step is key to getting a nice, flavorful sear.Moisture creates steam, which prevents the tuna from developing that perfect golden crust.
- Season both sides with salt, pepper, and sesame seeds if desired. These basic seasonings enhance the tuna’s natural flavor. For an added layer of taste, gently press the sesame seeds into the surface so they adhere well.
- Preheat your skillet over medium-high heat until it just begins to smoke. A hot pan is essential. It ensures the tuna sears quickly, locking in moisture and creating that beautiful crust.
- Add oil Pour in the oil and gently swirl the pan so it coats the surface evenly. Use a high-smoke-point oil like avocado or canola to avoid burning and to handle the heat needed for a proper sear.
- Place tuna steaks into the skillet gently. Let them cook undisturbed for 1–2 minutes. Don’t press down or move them this allows a crust to form and helps with even browning.
- Flip and cook the other side for another 1–2 minutes. This short cook time keeps the inside rare and tender, which is how ahi tuna is traditionally enjoyed. Cook longer if you prefer it more done.
- Transfer to a plate and let rest 3–4 minutes. Resting helps redistribute juices and prevents them from running out when sliced.
- Slice thinly against the grain for best texture. Cutting against the muscle fibers makes each bite tender and enhances the presentation.
Notes
- Use fresh sushi-grade ahi tuna steaks for best taste and safety.
- Pat the tuna dry before searing for a perfect golden crust.
- Do not overcook ahi tuna tastes best when the center stays rare to medium-rare.
- Serve immediately after cooking for maximum flavor and texture.
- Pair with soy sauce, sesame seeds, or a light salad for a restaurant-style meal.