Chilli Cheese Fries Recipe That Tastes Better Than Any Diner
Crispy fries. Thick, spiced chilli. Melted cheese on top. That is what this dish is all about. Chilli cheese fries are one of those snacks that everyone loves – kids, adults, and anyone in between. They look like something from a restaurant, but you can easily make them at home in about an hour.
So if you want to know how to make chilli cheese fries from scratch, you are in the right place. Everything you need is right here.

What You Need – Chili Cheese Fries Ingredients
For the Chilli
- 1 pound ground beef
- 1 teaspoon vegetable oil
- ½ cup onion, finely diced
- 1 teaspoon minced garlic
- 1 can (15 oz) diced tomatoes – do not drain
- 2 cans (8 oz each) tomato sauce
- ½ cup beef broth
- 1 tablespoon chilli powder
- 1 teaspoon ground cumin
- 1 teaspoon smoked paprika
- 1 teaspoon salt
- ¼ teaspoon black pepper
- ½ teaspoon brown sugar
- 1 teaspoon cocoa powder
- 1 can (15 oz) kidney beans, drained
For the Fries
- 32 oz frozen french fries (thick cut or waffle fries work best)
- 2 cups shredded cheddar cheese
- Cooking spray
Optional Toppings
- Sour cream
- Sliced green onions
- Diced tomatoes
- Crumbled bacon
- Sliced jalapeños

How to Make It
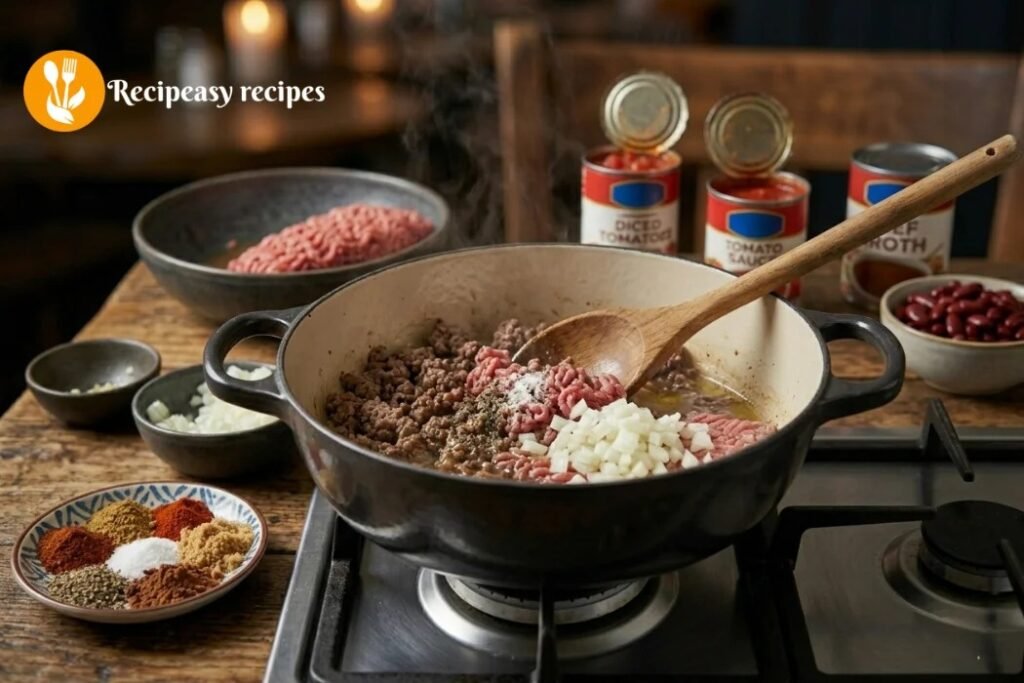
Step 1 – Cook the Chilli
Heat the oil in a large pot over medium-high heat. Add the ground beef and season with salt and pepper. Cook it for about 3 to 4 minutes, breaking it apart as it cooks. Drain off any extra fat.
Next, add the diced onion. Cook for another 3 to 4 minutes until it softens. Then stir in the garlic and cook for 30 more seconds.
After that, add the diced tomatoes, tomato sauce, beef broth, chilli powder, cumin, paprika, cocoa powder, brown sugar, and the remaining salt. Stir everything together and let it come to a simmer.
Let the chilli cook for 30 to 40 minutes, stirring every now and then. It should thicken up nicely. Finally, add the kidney beans and cook for 10 more minutes.
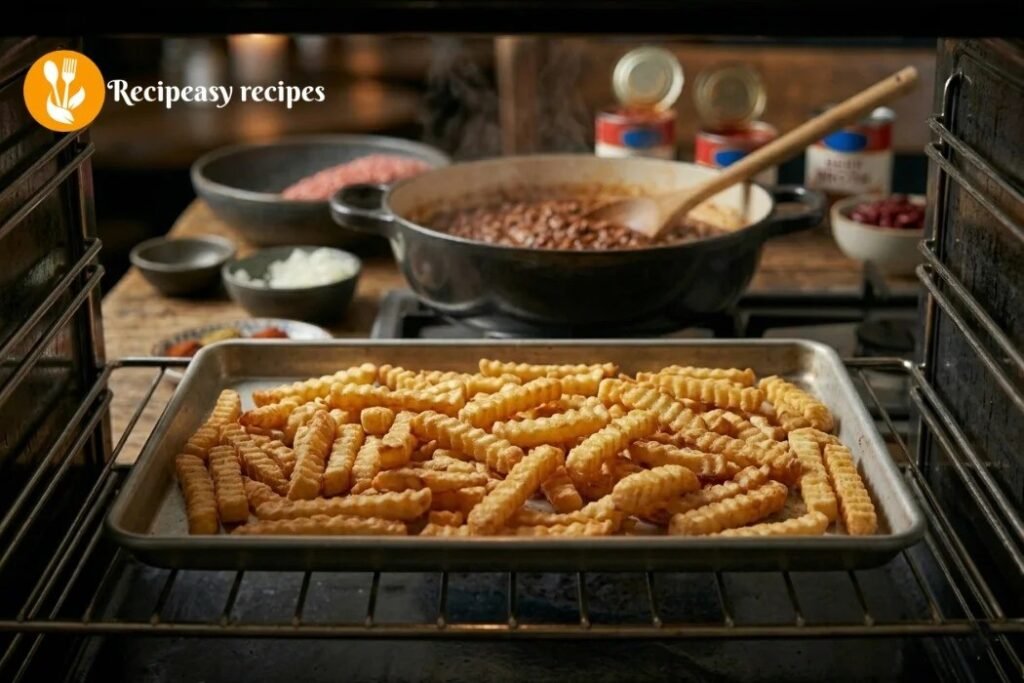
Step 2 – Bake the Fries
While the chilli is simmering, preheat your oven and cook the frozen fries on a baking sheet according to the package directions. You want them golden and crispy – not soft.
Step 3 – Put It All Together
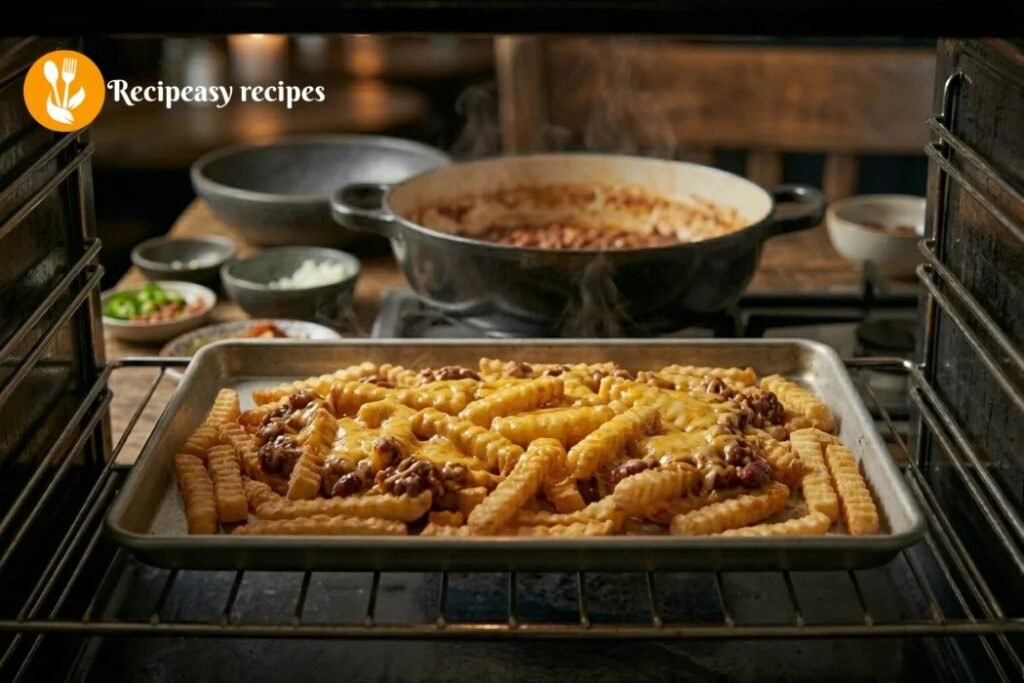
Once the fries are done, take them out of the oven and set it to 400°F (200°C). Spoon about 1½ cups of chilli over the fries. Then sprinkle the shredded cheddar cheese all over the top.
Put the tray back in the oven for 5 minutes, just until the cheese melts. Then pull it out, add your toppings, and serve right away.
Tips That Actually Help
Use thick fries. Thin shoestring fries get soggy fast under the chilli. Steak fries, waffle fries, or crinkle-cut fries hold up much better.
Grate your own cheese. Pre-shredded cheese from a bag has a coating on it that stops it from melting smoothly. Just grate a block of cheddar – it takes two minutes and makes a big difference.
Make the chilli ahead. You can make the chilli up to 3 days before and store it in the fridge. Then when you want fries, just reheat it and go.
Serve immediately. Fries sitting under warm chilli will get soft quickly. So once it comes out of the oven, get it to the table fast.
Want to Switch Things Up?
This simple chilli cheese fries recipe is very easy to change based on what you like.
- Cheese: Try pepper jack for a spicy kick, or colby jack for a milder flavour. A warm cheese sauce poured on top also works great.
- Chilli: No beef? Use ground turkey or go completely meat-free with a veggie chilli. Both taste amazing.
- Fries: Sweet potato fries are a fun swap that adds a hint of sweetness against the spicy chilli.
Why This Recipe Works So Well
The secret is in the chilli. Most people use canned chilli and call it a day. But when you make it fresh with real spices, tomatoes, and a tiny bit of cocoa powder for depth – the flavour is completely different. Richer, thicker, and way more satisfying.
Combined with crispy fries and melted cheese, this becomes the kind of snack people ask you to make again and again. It is genuinely the best chilli cheese fries recipe for home cooking because everything is made from real ingredients, yet it still comes together without much effort.
Frequently Asked Questions
Can I use canned chilli instead?
Yes, absolutely. It is a great shortcut on busy days. Just warm it up and spoon it over the fries. The homemade version tastes better, but canned chilli still works fine.
Can I make this in an air fryer?
Yes. Cook the fries in the air fryer first, then transfer them to a baking dish, top with chilli and cheese, and finish under the broiler for a few minutes until the cheese melts.
How do I store leftovers?
Store the chilli separately from the fries. Reheat the fries in the oven or air fryer to get them crispy again, then add fresh chilli and cheese on top.

Chilli Cheese Fries Recipe That Tastes Better Than Any Diner
Course: Snack / Appetizer / Comfort FoodCuisine: American / Tex-Mex InspiredDifficulty: Easy3
servings15
minutes45
minutes300
kcalTry this indulgent chilli cheese fries recipe made with crispy baked fries, smoky beef chili, and creamy cheese sauce. A perfect comfort food for weekends, game nights, or late-night cravings that tastes even better than takeout.
Ingredients
For Fries
3 medium Russet potatoes
2 tbsp oil
Salt to taste
Garlic powder (optional)
Smoked paprika (optional)
For Chili
250–300g minced beef
1 small onion (finely chopped)
3 garlic cloves (minced)
1 tsp cumin
1 tsp chili powder
½ tsp smoked paprika
½ tsp oregano
1 can chopped tomatoes
3 tbsp tomato paste
100 ml beef stock
Salt & pepper to taste
For Cheese Sauce
1 tbsp butter
1 tbsp flour
200 ml milk
80–100g cheese (cheddar + mozzarella mix)
Pinch of mustard powder (optional)
Pinch of cayenne
Toppings
Jalapeños
Sour cream
Spring onions
Hot sauce
Directions
- Make the Fries: Soak cut potatoes for 30 minutes, dry completely, toss with oil and seasoning, and bake at 220°C for 35–40 minutes until crispy (or double fry for extra crunch).
- Cook the Chili: Brown minced beef, sauté onions and garlic, add spices, tomatoes, tomato paste, and stock. Simmer 20–25 minutes until thick and rich.
- Prepare Cheese Sauce: Make a roux with butter and flour, add milk gradually, then stir in cheese until smooth and creamy.
- Assemble: Layer fries → chili → cheese sauce → toppings. Serve immediately while hot.
Notes
- Always dry potatoes fully for crisp fries
- Don’t overcrowd fries while baking
- Use cheese sauce instead of shredded cheese
- Reduce chili until thick (not watery)
- Assemble just before serving to avoid sogginess