Biga Bread Recipe – Traditional Italian Bread with Rich Flavor
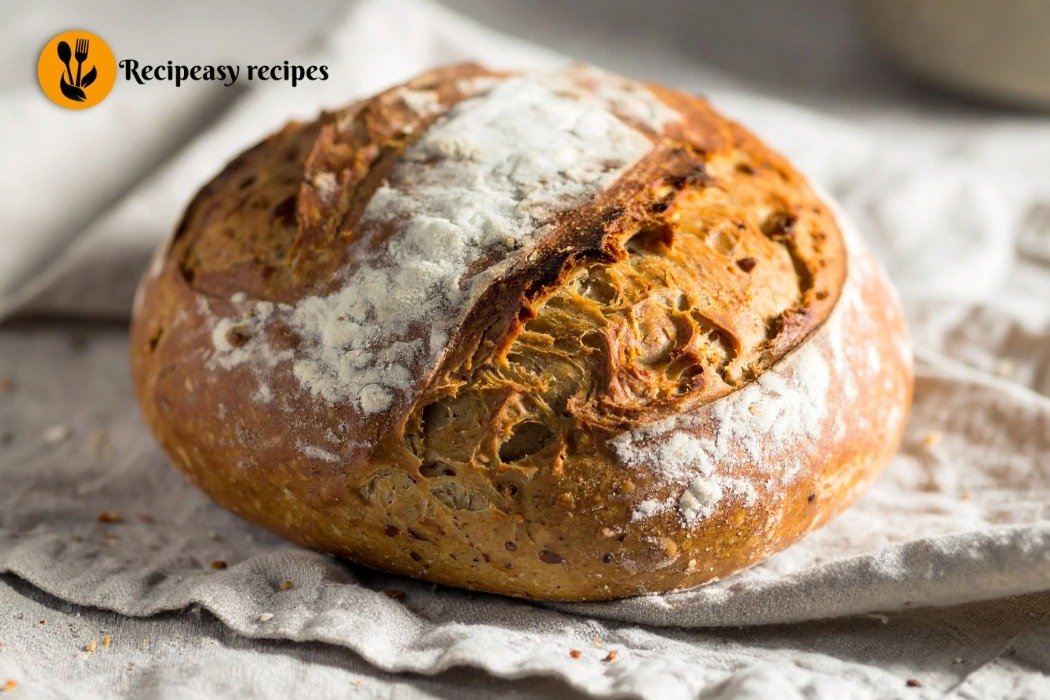
Fresh bread baking at home has its own kind of magic the aroma, the texture, and the satisfaction of making something from scratch. The Biga Bread Recipe is a classic Italian method that helps you achieve bakery-style bread right in your own kitchen.
Unlike regular bread dough, biga uses a pre-ferment that slowly develops flavor and improves texture. This process makes the bread airy on the inside, slightly crisp on the outside, and rich in taste without using any artificial ingredients.
If you have ever wondered why bakery bread tastes deeper and more complex than homemade bread, biga is the secret. This recipe explains everything in a simple and clear way so even beginners can follow it easily and get perfect results.
How to Make Biga Bread Recipe ?
Making biga bread is a two-stage process. First, you prepare the biga (pre-ferment) and let it rest so natural fermentation can work its magic. Then, you combine it with fresh ingredients to form the final dough.
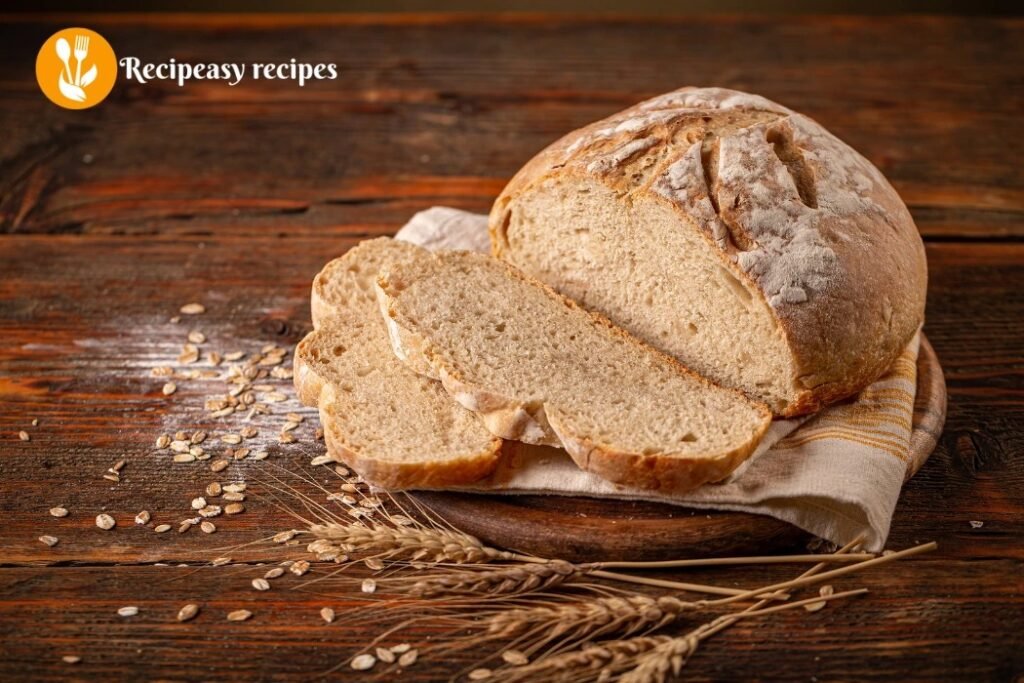
Think of it as preparing the foundation first and building the bread on top of it. The steps are easy, but patience is important because slow fermentation gives the best flavor.
Ingredients for This Recipe
For the Biga (Pre-Ferment):
- Bread flour or all-purpose flour
- Water (room temperature)
- Active dry yeast or instant yeast
For the Final Dough:
- Prepared biga
- Bread flour
- Water
- Salt
- Olive oil (optional, for softness)
Complete Guide to Making Traditional Biga Bread Recipe
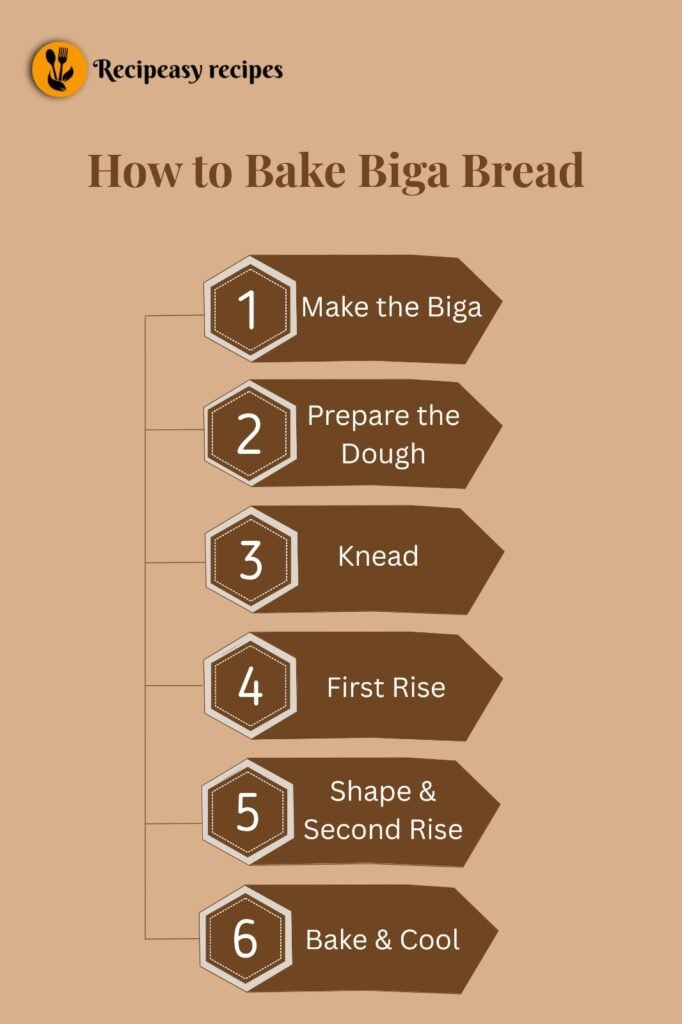
Step 1: Prepare the Biga: In a large bowl, mix flour, water, and a small amount of yeast. Stir until everything comes together into a rough and sticky dough. Do not knead it too much; biga should look uneven and rustic.
Cover the bowl with plastic wrap or a lid and let it rest at room temperature for 12 to 16 hours. During this time, the biga will develop bubbles and a slightly fermented aroma.
Step 2: Check the Biga: After resting, the biga should look airy with visible holes and smell mildly sweet and yeasty. If it smells overly sour, it may have fermented too long.
Step 3: Make the Final Dough: Tear the biga into small pieces and place it in a mixing bowl. Add fresh flour, water, and salt. Mix everything until a soft dough forms. If the dough feels dry, add a little water; if sticky, add a small amount of flour.
Step 4: Knead the Dough: Knead the dough for about 8–10 minutes until it becomes smooth and elastic. You can knead by hand or use a stand mixer. The dough should be slightly sticky but manageable.
Step 5: First Rise: Place the dough in a lightly oiled bowl, cover it, and let it rise until doubled in size. This usually takes 1 to 2 hours depending on room temperature.
Step 6: Shape the Bread: Gently deflate the dough and shape it into a loaf or round boule. Place it on a baking tray lined with parchment paper or in a proofing basket.
Step 7: Second Rise: Cover the shaped dough and let it rise again for about 45 minutes to 1 hour. This helps the bread develop a light and airy crumb.
Step 8: Bake the Bread: Preheat your oven to 220°C (425°F). Place the bread inside and bake for 30–35 minutes until the crust turns golden brown and sounds hollow when tapped.
Step 9: Cool Before Slicing: Remove the bread from the oven and let it cool on a wire rack. Cutting too early can make the bread gummy inside.
Tips and Variations
- For extra crustiness, place a small bowl of water in the oven while baking.
- You can replace part of the flour with whole wheat flour for a healthier version.
- Add herbs like rosemary or thyme to the dough for extra flavor.
- If you prefer softer bread, brush olive oil on top after baking.
Nutritional Information (Per Slice – Approximate)
- Calories: 140
- Carbohydrates: 28g
- Protein: 5g
- Fat: 1.5g
- Fiber: 1g
FAQs
What is biga in bread making?
Biga is an Italian pre-ferment made with flour, water, and yeast. It improves flavor, texture, and shelf life of bread.
Can I refrigerate biga overnight?
Yes, you can refrigerate it, but bring it back to room temperature before using.
Is biga bread suitable for beginners?
Yes, this recipe is beginner-friendly if you follow the steps carefully.
Can I freeze biga bread?
Yes, once baked and cooled, you can freeze the bread for up to 2 months.
Conclusion
Biga bread is a traditional Italian bread made in two stages. First, you make a biga, a simple pre-ferment of flour, water, and a little yeast, and let it rest for 12 to 16 hours. Then you mix it with fresh flour, water, and salt, knead, let it rise twice, and bake at 220°C (425°F) for 30 to 35 minutes. The long fermentation gives the bread a deeper flavor, an airy inside, and a lightly crisp crust, without any artificial ingredients. The recipe is beginner-friendly, and patience (slow fermentation and cooling before slicing) is the key to good results.
Biga Bread Recipe – Traditional Italian Bread with Rich Flavor
Course: Bread, SnacksCuisine: ItalianDifficulty: Easy8 slices
servings20
minutes35
minutes140
kcalTraditional Italian biga bread made using a slow-fermented pre-ferment for rich flavor, airy crumb, and crispy crust.
Ingredients
- For the Biga (Pre-Ferment):
Bread flour or all-purpose flour
Water (room temperature)
Active dry yeast or instant yeast
- For the Final Dough:
Prepared biga
Bread flour
Salt
Olive oil (optional, for softness)
Directions
- Prepare the Biga: In a large bowl, mix flour, water, and a small amount of yeast. Stir until everything comes together into a rough and sticky dough. Do not knead it too much; biga should look uneven and rustic.
Cover the bowl with plastic wrap or a lid and let it rest at room temperature for 12 to 16 hours. During this time, the biga will develop bubbles and a slightly fermented aroma. - Step 2: Check the Biga: After resting, the biga should look airy with visible holes and smell mildly sweet and yeasty. If it smells overly sour, it may have fermented too long.
- Step 3: Make the Final Dough: Tear the biga into small pieces and place it in a mixing bowl. Add fresh flour, water, and salt. Mix everything until a soft dough forms. If the dough feels dry, add a little water; if sticky, add a small amount of flour.
- Step 4: Knead the Dough: Knead the dough for about 8–10 minutes until it becomes smooth and elastic. You can knead by hand or use a stand mixer. The dough should be slightly sticky but manageable.
- Step 5: First Rise: Place the dough in a lightly oiled bowl, cover it, and let it rise until doubled in size. This usually takes 1 to 2 hours depending on room temperature.
- Step 6: Shape the Bread: Gently deflate the dough and shape it into a loaf or round boule. Place it on a baking tray lined with parchment paper or in a proofing basket.
- Step 7: Second Rise: Cover the shaped dough and let it rise again for about 45 minutes to 1 hour. This helps the bread develop a light and airy crumb.
- Step 8: Bake the Bread: Preheat your oven to 220°C (425°F). Place the bread inside and bake for 30–35 minutes until the crust turns golden brown and sounds hollow when tapped.
- Step 9: Cool Before Slicing: Remove the bread from the oven and let it cool on a wire rack. Cutting too early can make the bread gummy inside.
Notes
- Biga fermentation time greatly affects flavor, so do not rush this step.
- Use bread flour for better structure and chewiness.
- Always measure ingredients accurately for consistent results.