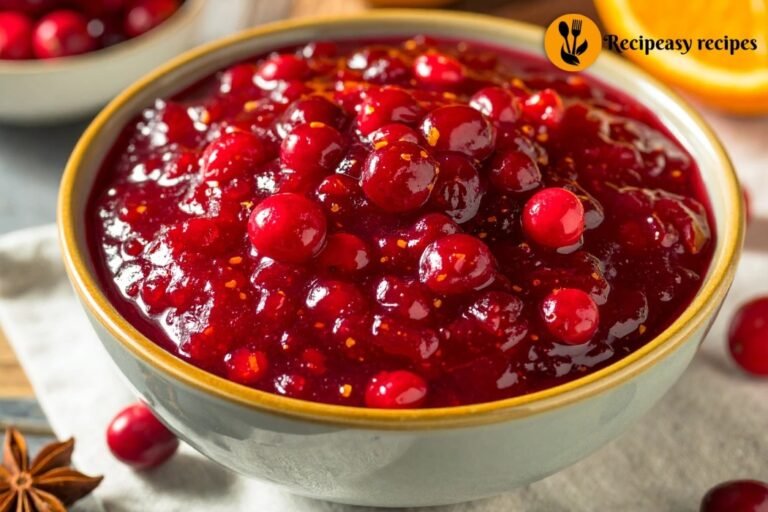
Chile Crunch Recipe That Actually Stays Crunchy (Here’s What I Changed)
I’ll be honest the first time I tried making a chile crunch recipe at home, I completely ruined it. The garlic burned within seconds, the oil smelled bitter, and the whole thing tasted more like regret than condiment. But I kept going back to it because once you’ve had that perfect crunchy, spicy, savory oil spooned over eggs or noodles, you can’t really settle for anything less.
After a few messy batches, I finally figured out what actually works. And it’s not complicated it just takes a little patience and the right order of operations.
What You’ll Need
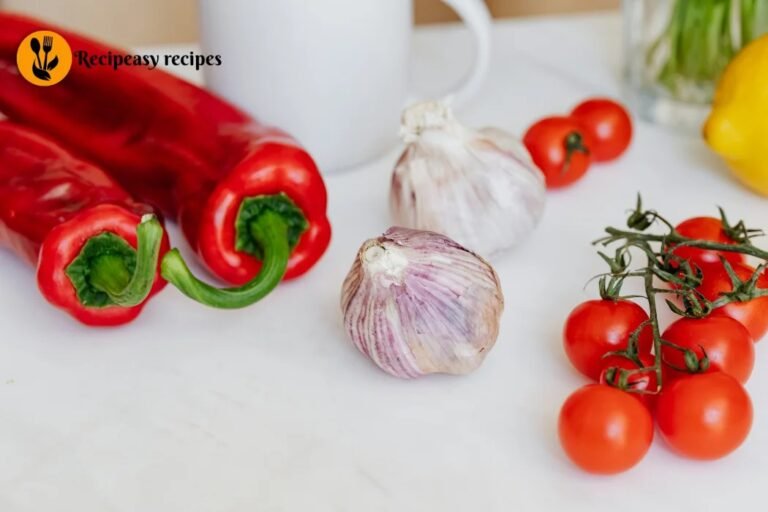
The chille ingredients are pretty simple, and most of them are pantry staples if you cook Asian food even occasionally. Here’s what goes into my version:
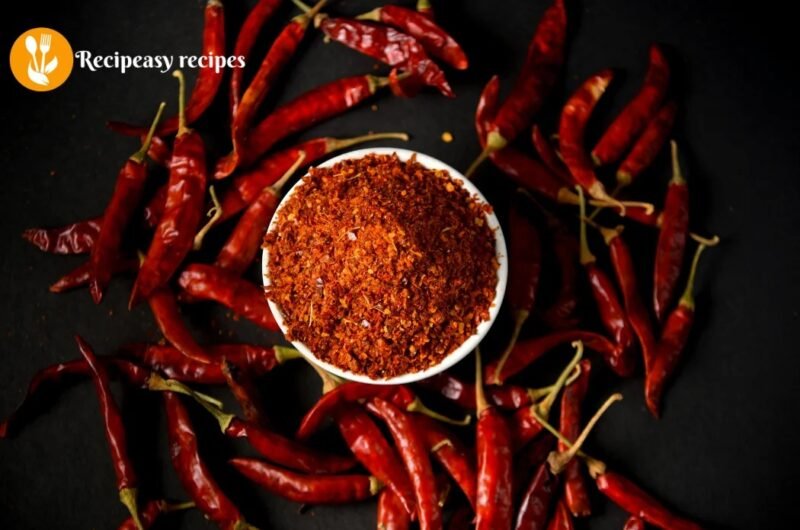
1 cup neutral oil (avocado or vegetable oil works great) 6 to 8 garlic cloves, thinly sliced or minced 2 tablespoons red pepper flakes (adjust to your heat preference) 1 tablespoon crushed dried chilies I like Sichuan or Kashmiri for depth 1 teaspoon smoked paprika ½ teaspoon MSG or a small pinch of fine salt 1 tablespoon soy sauce (added at the very end, trust me) 1 teaspoon sesame seeds, toasted Optional: a small cinnamon stick, a star anise, or a bay leaf while the oil heats
The sesame seeds add a nice nuttiness, and the smoked paprika gives it this deep reddish color that looks genuinely beautiful in a jar.

The Part Most People Get Wrong
Temperature is everything here. I cannot stress this enough.
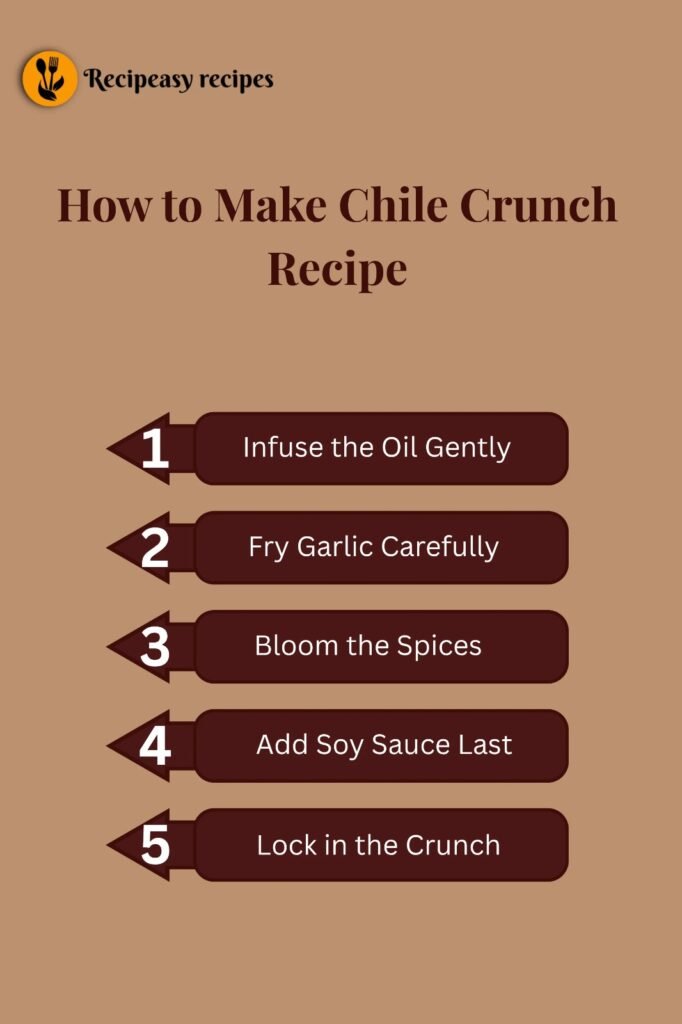
Pour your oil into a small saucepan and drop in the cinnamon stick or star anise if you’re using them. Let the oil warm slowly you’re not frying, you’re infusing. Once it hits around 200°F or so (just before it starts shimmering), add the sliced garlic.
This is where I burned my first batch. I had the heat too high and turned away for maybe 90 seconds. Burned garlic is genuinely difficult to recover from, so keep your eye on it. You want the garlic to turn golden not brown, definitely not dark. Pull it off the heat the moment it looks like it’s about to go one shade deeper, because it keeps cooking in the hot oil.
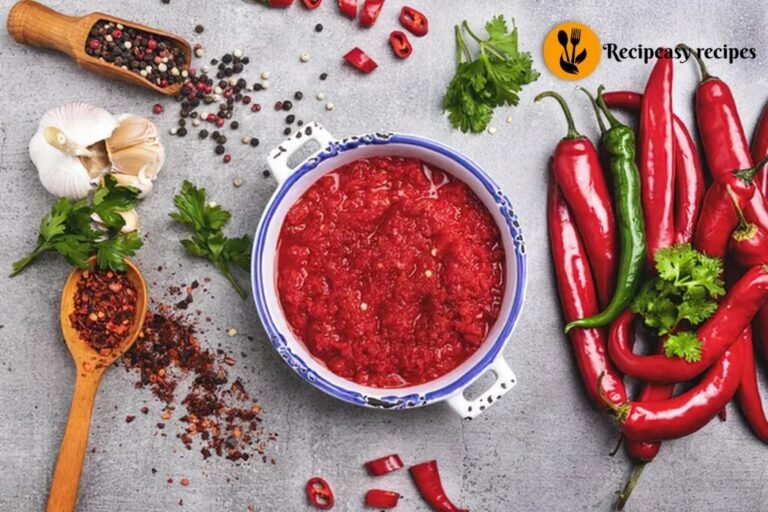
Meanwhile, in a heatproof bowl, combine the red pepper flakes, crushed chilies, paprika, MSG, and sesame seeds. When your garlic oil is ready and just slightly cooled (maybe 30 seconds off the heat), pour it carefully over the spice mixture. It’ll sizzle and bloom beautifully. That smell warm, toasty, slightly smoky is one of my favorite things in cooking.
Then stir in the soy sauce. Adding it earlier makes the oil cloudy and can affect texture, so always save it for last.
Getting That Actual Crunch
If you want crispy garlic chili oil that stays crispy beyond day one, the garlic slices need to be thin and even. I use a mandoline for consistency, though a sharp knife works fine if you take your time. Also, make sure your garlic is completely dry before it hits the oil. Any moisture causes the oil to splatter and the garlic steams instead of fries you get soft bits rather than crispy ones.
I also found that letting the finished oil sit uncovered for about 10 minutes before jarring it makes a real difference. The residual heat keeps cooking things gently, and some of the steam escapes so everything crisps up better as it cools.
How I Actually Use It
This is probably the best part. Once you have a jar of this sitting in your kitchen, you’ll find yourself reaching for it constantly. I spoon it over fried eggs in the morning, stir it into plain noodles with a little sesame oil, drizzle it on avocado toast, mix it into mayo for sandwiches, and honestly sometimes just eat it straight with a spoon when I think nobody’s watching.
It keeps well at room temperature for about two weeks, or in the fridge for up to a month. The oil does solidify slightly in the fridge just let it sit out for a few minutes before using and it loosens right up.
One last thing: this recipe is genuinely easy to scale up. If you want a bigger batch, just double everything proportionally. The method stays exactly the same.
Making your own chile crunch at home is one of those things that feels a little intimidating until you actually do it. After that first successful batch all glossy, golden, and fragrant you’ll probably wonder why you ever bought the jarred version.
FAQs
1. Why is my chile crunch not crispy?
Your garlic likely had moisture or the oil temperature was too low. For a perfect chile crunch recipe, dry garlic and controlled heat are essential.
2. Can I make this chile crunch recipe without MSG?
Yes, you can replace MSG with a pinch of salt, though MSG enhances the umami flavor.
3. What oil is best for chile crunch recipe?
Neutral oils like avocado or vegetable oil work best because they don’t overpower the chili flavor.
4. How long does homemade chile crunch last?
This chile crunch recipe lasts about 2 weeks at room temperature and up to 1 month in the fridge.
5. Can I make this chile crunch recipe less spicy?
Yes, simply reduce the amount of red pepper flakes or use milder chilies like Kashmiri.
Chile Crunch Recipe That Actually Stays Crunchy (Here’s What I Changed)
Course: CondimentCuisine: Asian-inspiredDifficulty: Easy1
servings10
minutes10
minutes120
kcalThis chile crunch recipe delivers crispy garlic, rich chili flavor, and a perfectly balanced spicy oil that stays crunchy for days. Ideal for eggs, noodles, and more.
Ingredients
1 cup neutral oil (avocado or vegetable)
6–8 garlic cloves (thinly sliced)
2 tbsp red pepper flakes
1 tbsp crushed dried chilies
1 tsp smoked paprika
½ tsp MSG or a pinch of salt
1 tbsp soy sauce (added at the end)
1 tsp sesame seeds (toasted)
Optional: cinnamon stick, star anise, or bay leaf
Directions
- Heat oil in a saucepan with optional whole spices over low heat.
- When oil reaches ~200°F, add sliced garlic.
- Cook until garlic turns light golden (do not burn).
- In a bowl, mix chili flakes, crushed chilies, paprika, MSG, and sesame seeds.
- Remove oil from heat, let cool for 30 seconds.
- Pour hot oil over the spice mixture.
- Stir and then mix in soy sauce.
- Let sit uncovered for 10 minutes before storing.
Notes
- Slice garlic evenly for best crunch
- Always add soy sauce at the end
- Don’t overheat oil — low and slow is key
- Avoid moisture to keep garlic crispy