Chili Onion Crunch Recipe (Crispy, Spicy & Better Than Store-Bought)
Honestly, I didn’t expect much when I first tried making a chili onion crunch recipe at home. I’d had the store-bought version a few times you know the one, that little jar sitting near the checkout at specialty grocery stores and I thought, this has to be complicated. Turns out, it’s one of the easiest things I’ve made in my kitchen, and now I make a fresh batch almost every two weeks.
Let me walk you through how I actually do it, including the part where I almost burned my first batch because I got distracted by my phone. (Don’t be like me. Stay near the stove.)
What You’ll Need Before You Start
Before anything goes into the pot, gather everything first. This is one of those recipes where things move fast once the oil heats up, so having it all out saves you from scrambling.
Here’s what I use:
1 cup of neutral oil — I prefer avocado oil, but sunflower or vegetable oil works perfectly fine
3/4 cup of thinly sliced shallots — these need to be as even as possible, which I’ll explain why in a second
1/4 cup of thinly sliced garlic cloves
3 tablespoons of red chili flakes — adjust based on your heat tolerance
1 tablespoon of gochugaru (Korean chili flakes) — this is optional, but it gives a beautiful smokiness that I’m obsessed with
1 teaspoon of soy sauce
1/2 teaspoon of sugar
1/2 teaspoon of salt
A small pinch of MSG — yes, MSG. I resisted adding it for the longest time, but it genuinely rounds out the flavor in a way nothing else does.
One thing I learned the hard way: if your shallot and garlic slices are uneven, the thinner ones burn before the thicker ones are even golden. My first batch had a mix of burnt bits and undercooked pieces, and the flavor was kind of all over the place. Take the extra two minutes to slice them evenly. It matters more than you’d think.
The Process — And Where Most People Go Wrong
Pour the oil into a small saucepan and add the sliced shallots and garlic at the same time. Here’s the key thing you’re starting them in cold oil. I know that sounds strange if you’re used to heating oil first, but starting cold lets everything cook slowly and evenly instead of shock-frying the outside.
Set the heat to medium-low and just let it go. Stir every couple of minutes. You’ll start to smell this incredible sweet, savory aroma after about 8 minutes, and around the 12 to 15 minute mark, you’ll see the shallots turning a light golden color.
This is where you have to pay attention. The color will go from pale gold to deep amber really quickly, and deep amber is what you want not dark brown. The moment I see that rich, caramel-like color starting to develop evenly, I pull the saucepan off the heat completely and let the residual heat do the rest for about 30 seconds. Then I transfer everything into a heatproof bowl immediately.
The first time I did this, I left it on the heat just a little too long because I thought it needed more color. The garlic went slightly bitter. Still edible, still tasty, but not as clean and sweet as it should be. Now I pull it a shade earlier than I think I need to, because the carry-over cooking always deepens the color by a few shades anyway.
Building the Flavor Layer
Once your shallots and garlic are out of the heat and in the bowl, add the chili flakes right on top. The hot oil will bloom the chili flakes and release their flavor and that gorgeous red color into the oil. You’ll hear a gentle sizzle and see the oil turn this beautiful deep red-orange. It smells absolutely incredible at this point warm, slightly smoky, with that familiar chili fragrance.
After that, stir in the soy sauce, sugar, salt, and MSG. The soy sauce adds a savory depth that keeps the easy chili onion crunch recipe from tasting one-dimensional. The sugar barely registers as sweetness it just balances the bitterness from the chili and brings the whole thing together.
If you want to add the gochugaru here, go for it. I usually add about a teaspoon extra for a slightly smokier, less sharp heat compared to regular chili flakes alone. The combination gives you this layered warmth that builds gradually instead of hitting you all at once.
Let It Sit — This Part Is Important
I know it’s tempting to just use it immediately. The smell is unreal and you’ll want to drizzle it on everything within reach. However, letting it sit for at least 20 minutes before using it makes a noticeable difference. The flavors meld, the oil absorbs more of that chili and shallot flavor, and everything just tastes more intentional and complex.
If you can wait until the next day, honestly do it. The crispy onion chili oil recipe gets even better overnight when stored in a jar at room temperature. The onions stay crispy because the oil protects them from moisture. Just make sure your jar is clean and completely dry before you pour the mixture in.
How I Actually Use It
This is where it gets fun, because once you have a jar of this in your kitchen, you’ll find yourself reaching for it constantly.
My favorite use is over a plain bowl of white rice with a fried egg on top. The yolk breaks and mixes with the chili oil and it’s genuinely one of the most satisfying things I eat on a regular basis. Also great stirred into noodles, spooned over scrambled eggs, mixed into hummus, or drizzled over avocado toast. I’ve even stirred a spoonful into mayo for a sandwich spread that completely elevated a boring turkey sandwich.
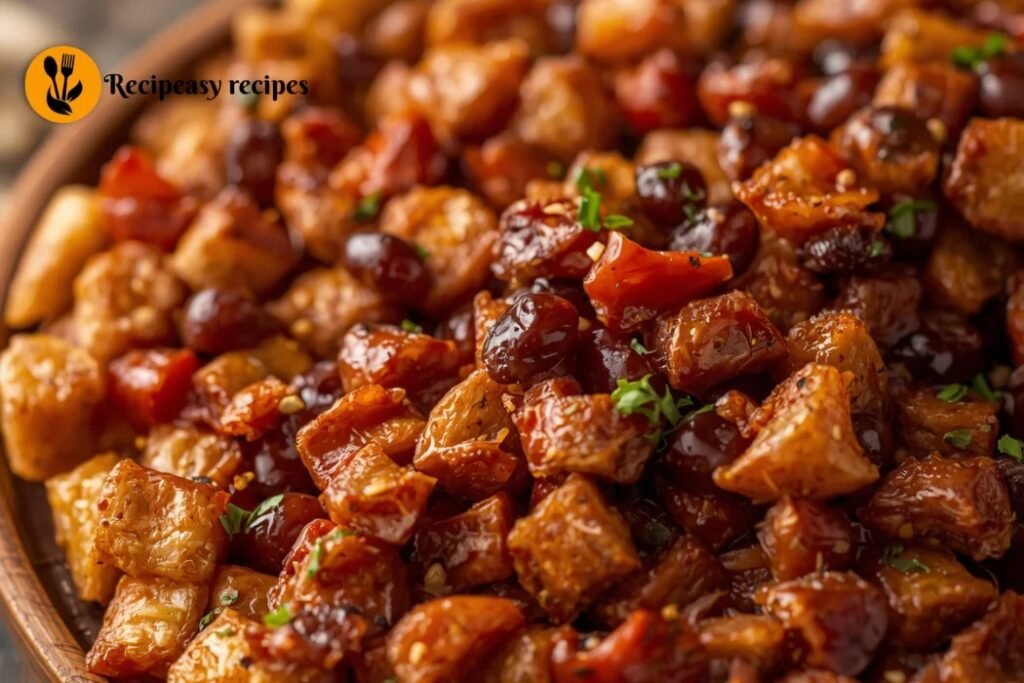
The crispy bits — the shallots and garlic — are arguably the best part. I sometimes sneak a spoonful just for those. They’re crunchy, savory, and slightly caramelized, with a texture that’s almost like a little flavor bomb.
A Few Things Worth Knowing
If your chili flakes are old and have lost their color, the oil won’t turn that vibrant red. Fresh, bright red chili flakes make a visual and flavor difference. I replace mine every few months.
Also, if you prefer less heat, you can reduce the chili flakes to 1.5 tablespoons and add a half teaspoon of smoked paprika to maintain the depth without the intensity.
The best chili onion crunch recipe is honestly the one you tweak to your own taste. Some people add sesame seeds (toasted, stirred in at the end great call). Some add a tiny splash of rice vinegar for brightness. I’ve tried both and they’re both worth experimenting with.
Storage is simple: room temperature in a sealed jar for up to two weeks, or refrigerate for up to a month. When refrigerated, the oil will solidify slightly, so just leave it out for 10 minutes before using and it’ll come right back to that perfect pourable consistency.
Conclude
Once you make your own version of this chili onion crunch recipe, I think you’ll understand why it’s so hard to go back to the store-bought stuff. There’s something about knowing exactly what went in, getting that freshness, and honestly the whole process the smell of the shallots slowly crisping up, that sizzle when the chili hits the oil that makes it so much more satisfying. Give it one try and see where you land.

Chili Onion Crunch Recipe (Crispy, Spicy & Better Than Store-Bought)
Course: condimentCuisine: asian-inspiredDifficulty: Easy1
servings10
minutes15
minutes120
kcalMake this chili onion crunch recipe at home with crispy shallots, garlic, and chili flakes. A bold, crunchy topping perfect for rice, noodles, eggs, and more.
Ingredients
1 cup neutral oil (avocado, sunflower, or vegetable oil)
¾ cup shallots, thinly sliced
¼ cup garlic cloves, thinly sliced
3 tablespoons red chili flakes
1 tablespoon gochugaru (optional)
1 teaspoon soy sauce
½ teaspoon sugar
½ teaspoon salt
Pinch of MSG (optional but recommended)
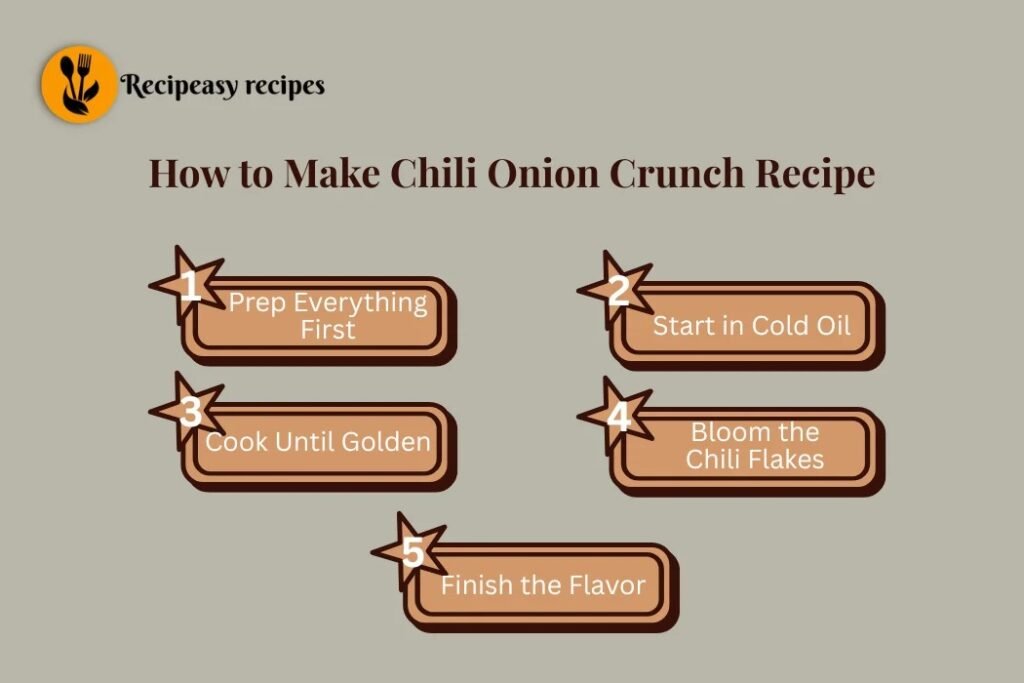
Directions
- Add oil, sliced shallots, and garlic to a saucepan (start from cold oil).
- Cook over medium-low heat, stirring occasionally for 12–15 minutes.
- Once shallots turn deep golden, remove from heat.
- Immediately transfer to a heatproof bowl.
- Add chili flakes (and gochugaru if using) to bloom in hot oil.
- Stir in soy sauce, sugar, salt, and MSG.
- Let sit for at least 20 minutes before using.
- Transfer to a clean, dry jar for storage.
Notes
- Slice shallots evenly to avoid burning.
- Letting it rest improves flavor significantly.
- Fresh chili flakes give better color and flavor.
- Remove from heat slightly early — residual heat continues cooking.