Best Homemade Chili Paste Recipe (Easy, Spicy & Better Than Store-Bought)
I didn’t plan on making chili paste from scratch. Honestly, I was just out of the store-bought kind and too lazy to go grocery shopping. So I looked at the chilies sitting in my fridge, shrugged, and thought how hard could it be?
Pretty easy, as it turns out. And way better than anything I’d been buying.
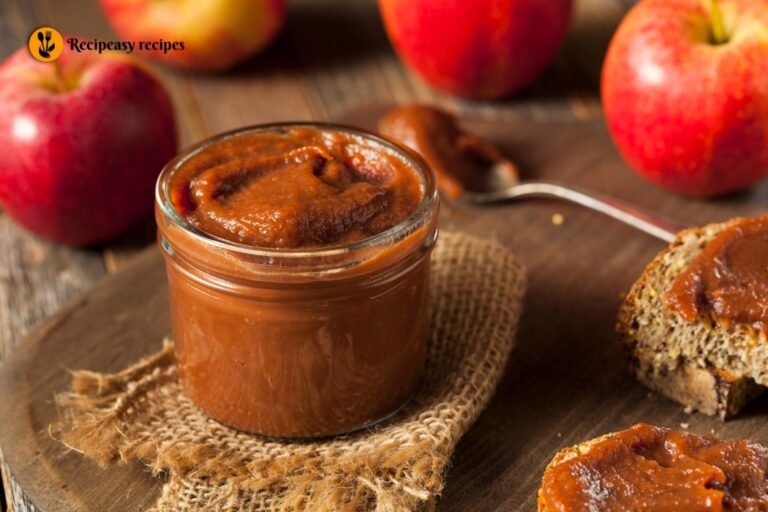
Now I keep a small jar of homemade chili paste recipe in my fridge almost every week. It goes into everything eggs, stir-fries, marinades, even just spread on toast with some butter when I’m feeling a little reckless. Once you make it yourself, the store-bought stuff genuinely starts to taste flat.
Let me walk you through exactly how I do it.
What Kind of Chilies Should You Use?
This is the part where most people overthink it, so let me save you the headache.
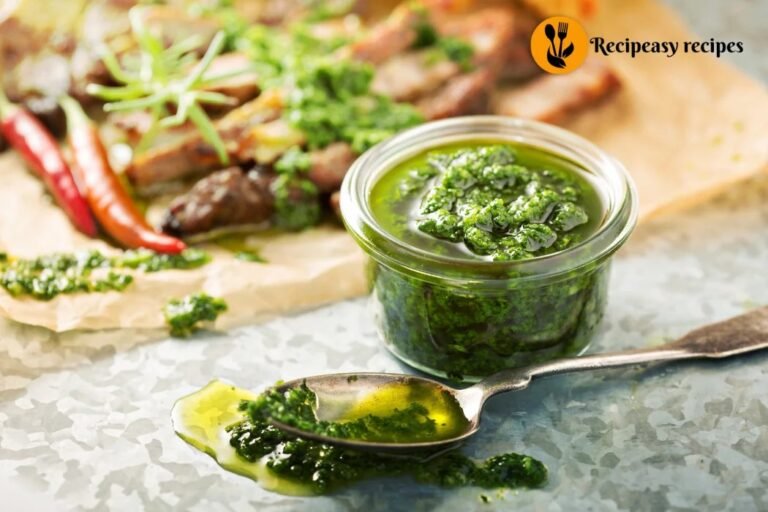
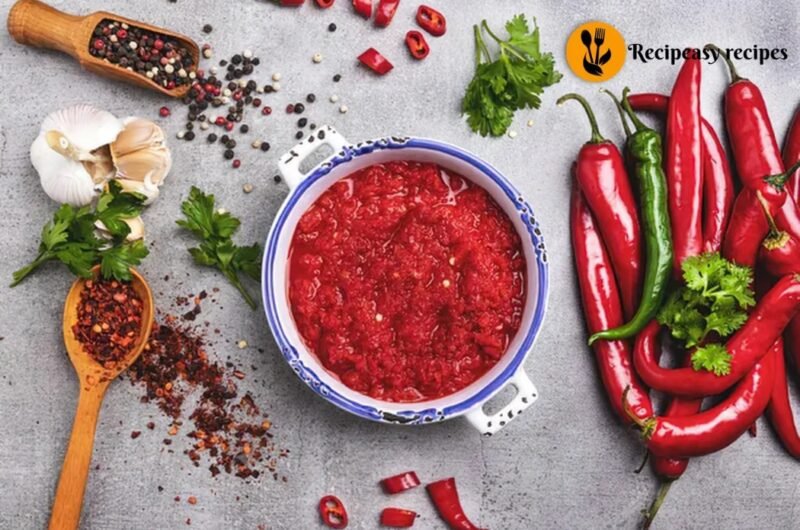
For a classic red chilli paste recipe, I use dried Kashmiri chilies as my base. They give this gorgeous deep red color without blowing your head off with heat. Then I add 3 or 4 fresh red chilies on top of that for actual kick. The combination is something I stumbled onto by accident — I ran out of all-fresh chilies one time and used dried ones to fill the gap — and I’ve never gone back.
If you want a green chili paste recipe instead, just swap everything out for fresh green chilies. Serrano or Thai green chilies work really well. The flavor is brighter, sharper, a little grassy. Completely different vibe, and honestly just as good.
What you’ll need for the red version:
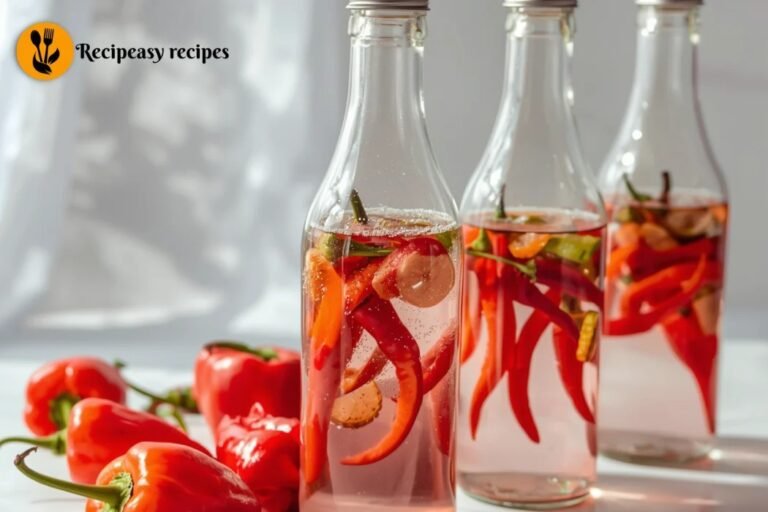
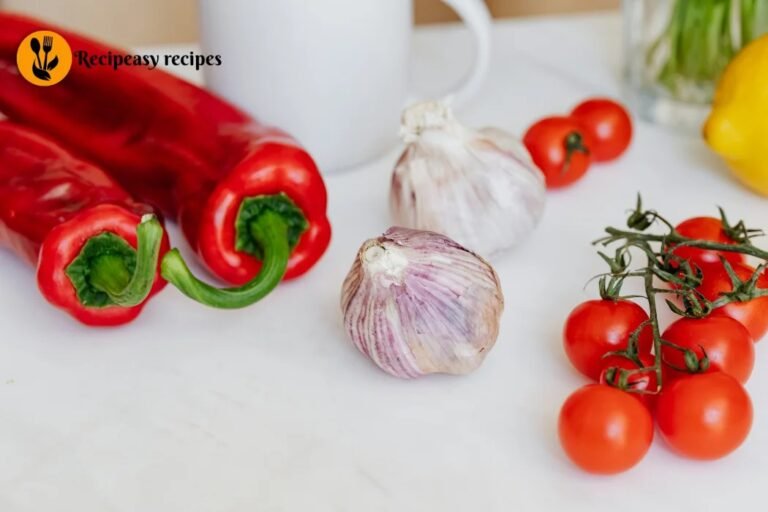
8 to 10 dried Kashmiri chilies, soaked in warm water for 20 minutes 3 to 4 fresh red chilies (adjust based on your heat tolerance) 6 garlic cloves A 1-inch piece of ginger 1 small onion, roughly chopped 2 tablespoons oil (I use neutral oil — sunflower or vegetable) 1 teaspoon salt Half a teaspoon of sugar (this matters more than you’d think) A tablespoon of vinegar or lemon juice to help it keep longer
That’s it. These are your core chili paste recipe ingredients and you probably have most of them already.
The Part I Always Used to Skip (And Shouldn’t Have)
Before you blend anything — cook the aromatics first.
I used to just throw everything raw into the blender, blend it up, and call it done. And look, it works. But the flavor is sharp and a little harsh, like the garlic and onion haven’t quite settled in yet.
So now I heat oil in a small pan, toss in the onion, and let it soften for about 5 minutes. Then in goes the garlic and ginger. I cook that for another 2 to 3 minutes until the raw smell is gone and everything smells sweet and a little toasty.
That step alone makes a noticeable difference. The paste ends up rounder, deeper, just more cohesive somehow.
After that, add your soaked dried chilies and fresh chilies to the pan. Stir everything together and let it cook for another 3 minutes. You’ll notice the fresh chilies start to soften and blister slightly. That’s what you want.
Blending It Out
Let the mixture cool down for 10 minutes before blending. I learned this the hard way blending hot stuff in a closed blender is a situation, and I’d rather not relive it.
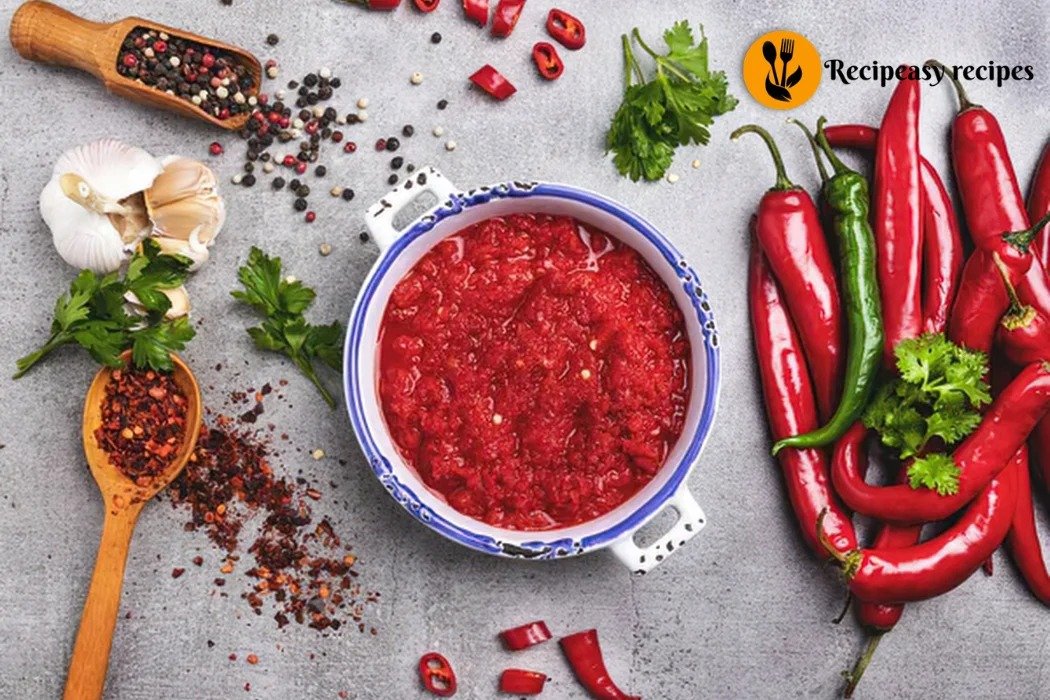
Once it’s cooled, pour everything into your blender. Add your salt, sugar, and vinegar. Blend until smooth.
Now here’s where you’ll need to use your own judgment. The easy chili paste recipe version stops right here blend until smooth, jar it up, done. But sometimes depending on your chilies and how much moisture they had, the paste can come out a little thick or slightly grainy.
If that happens, add a tablespoon of water and blend again. Keep going until you get a texture that’s thick but pourable almost like a loose tomato paste consistency. That’s where you want to be.
Taste it at this point. If it needs more salt, add it. If the heat is too much, a tiny bit more sugar can round it out without making it taste sweet.
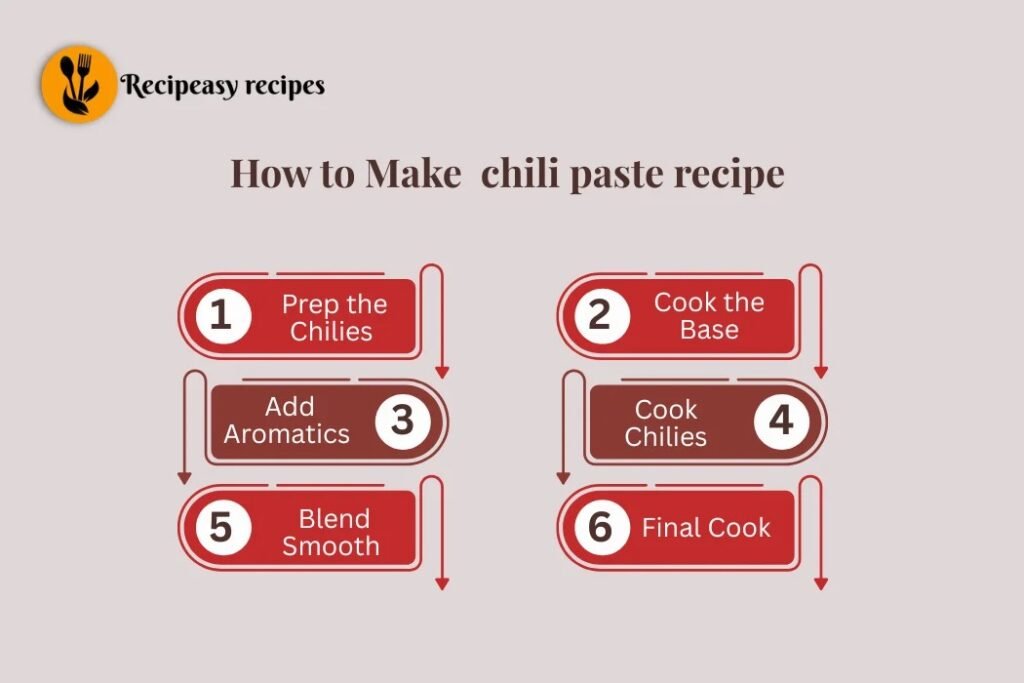
The Final Cook (This Is the Secret Step)
Most recipes stop at blending. Here’s what I do differently.
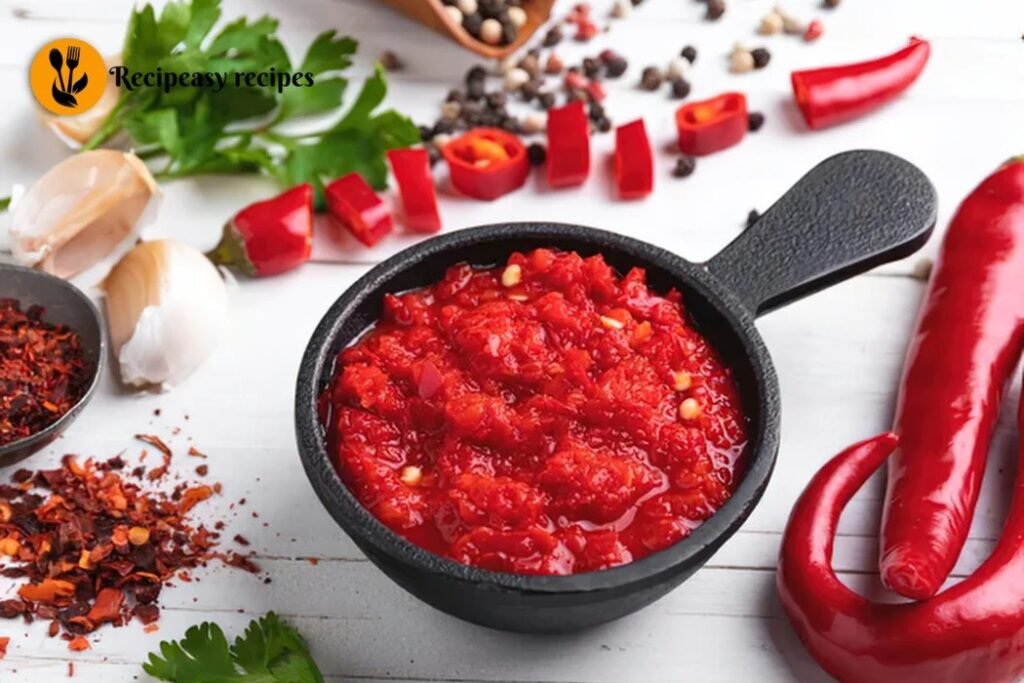
I heat a little more oil in the same pan, pour the blended paste back in, and cook it on medium heat for about 8 to 10 minutes, stirring frequently. The paste will bubble and splutter (keep a lid nearby), and you’ll notice it darkening very slightly and thickening up.
This final cook does two things. First, it deepens the flavor it loses that blended-raw edge and becomes something richer. Second, it actually extends the shelf life because you’re driving off moisture and essentially cooking out anything that would make it spoil faster.
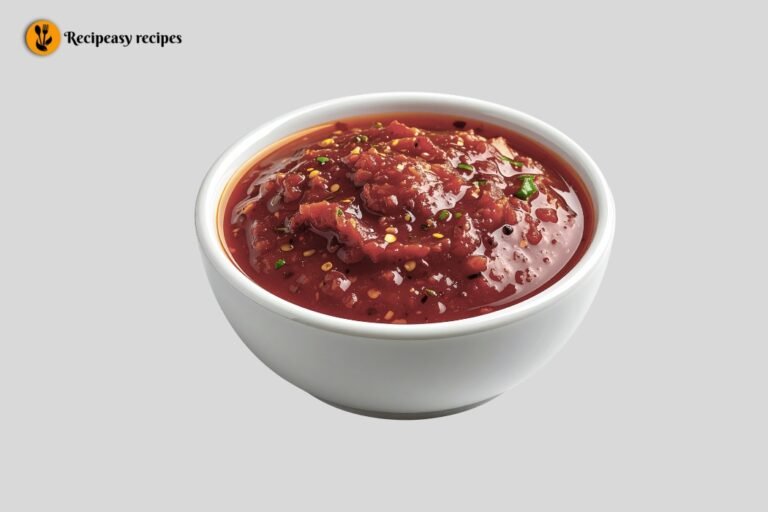
After this step you genuinely have the best chili paste recipe you’ve ever made at home. I’m not just saying that.
Storage and How Long It Lasts
Pour it into a clean glass jar while it’s still warm. Let it cool completely before closing the lid. I usually drizzle a thin layer of oil on top it creates a little barrier that helps it stay fresh.
In the fridge, this keeps for 2 to 3 weeks easily. Some batches have lasted me closer to a month with no issues. If you see any discoloration or smell something off, you’ll know but in my experience that’s never happened before I finish the jar anyway.
How I Actually Use It
Since we’re here — a few of my favorite uses:
Stir a teaspoon into scrambled eggs before they set. It sounds odd. It’s incredible.
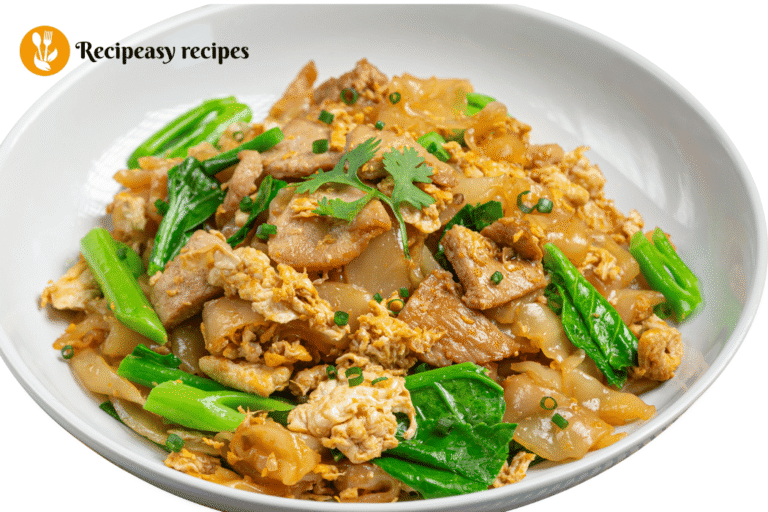
Mix it with a bit of soy sauce and sesame oil for an instant noodle sauce.
Rub it under chicken skin before roasting. The color you get is unreal.
Swirl it into hummus. Your guests will ask what the secret ingredient is.
Honestly, once you know how to make chilli paste at home, you start looking for excuses to use it. That jar doesn’t last as long as you think.
One Last Thing
Don’t stress about making this perfect on the first go. My first batch was too salty and a little too chunky. I fixed the salt with a squeeze of lemon and just called the texture “rustic.” The second batch was better. By the third, I had it exactly where I wanted it.
That’s just how homemade chili paste works you figure out your own ratios, your own heat level, your own little adjustments. And that version ends up being the one nobody else can quite replicate.
Which, honestly, is kind of the whole point.
Best Homemade Chili Paste Recipe (Easy, Spicy & Better Than Store-Bought)
Course: Condiment / Sauce / Side CondimentCuisine: Asian, (Indo-Asian / Fusion)Difficulty: Easy1 jar
servings20
minutes20
minutes300
kcalIngredients
8–10 dried Kashmiri chilies (soaked in warm water for 20 minutes)
3–4 fresh red chilies (adjust heat as needed)
6 garlic cloves
1-inch ginger piece
1 small onion (chopped)
2 tbsp neutral oil (sunflower/vegetable)
1 tsp salt
½ tsp sugar
1 tbsp vinegar or lemon juice
1–2 tbsp water (if needed for blending)
Directions
- Soak Chilies:
Soak dried Kashmiri chilies in warm water for 20 minutes until soft. - Cook Aromatics:
Heat oil in a pan.
Add onion and cook for 4–5 minutes until soft.
Add garlic and ginger, cook for 2–3 minutes until fragrant. - Add Chilies:
Add soaked dried chilies and fresh chilies.
Cook for 2–3 minutes until slightly softened. - Blend:
Let mixture cool slightly. Transfer to blender.
Add salt, sugar, vinegar, and blend until smooth.
Add water if needed to adjust consistency. - Final Cooking (Secret Step):
Heat a little oil in pan, add blended paste, and cook for 8–10 minutes on medium heat. Stir continuously until thick and glossy.
Notes
- Kashmiri chilies give color without too much heat
- Adjust sugar to balance heat
- Cooking aromatics improves depth of flavor
- Final cooking step boosts taste and shelf life