The Perfect Pumpkin Pie Recipe: (Classic Thanksgiving Dessert)
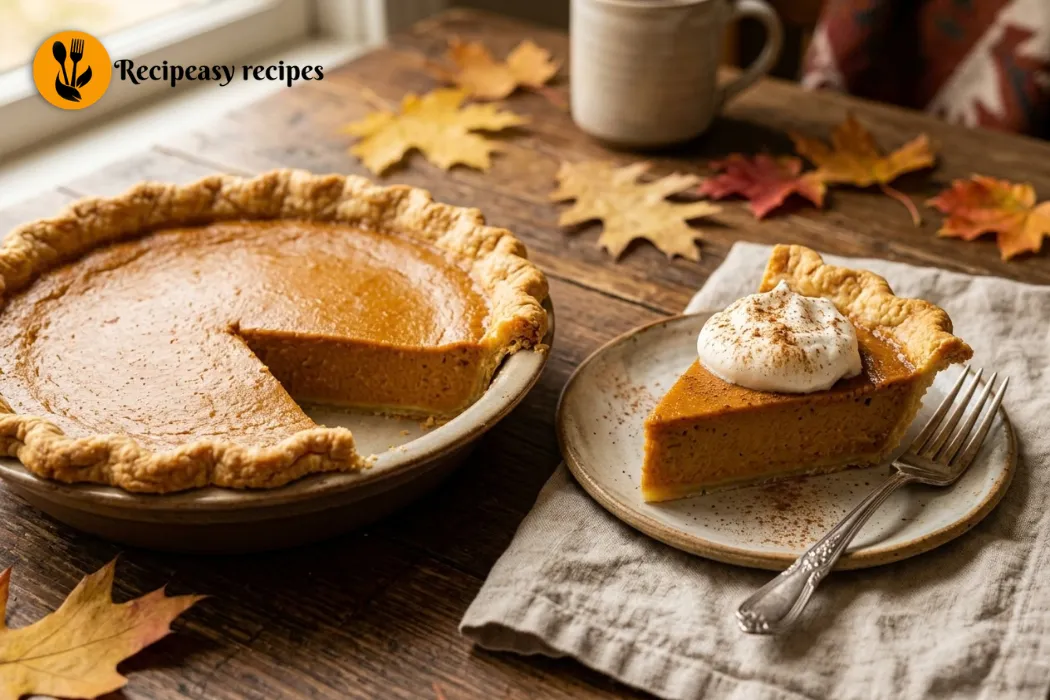
If Thanksgiving isn’t complete without a slice of homemade pumpkin pie on the table, this pumpkin pie recipe is one you’ll want to keep handy. The filling is smooth, creamy, and perfectly spiced, with real pumpkin giving it that classic fall flavor. Every bite has the warm, comforting taste you expect from a traditional pumpkin pie.
Don’t worry if you’re new to pie baking. This recipe keeps things simple with an easy crust and a flavorful pumpkin filling that comes together without complicated steps. Whether you’re making dessert for Thanksgiving or simply craving a cozy fall treat, this homemade pumpkin pie is easy enough for beginners and delicious enough to become a family favorite.
Why This Recipe Works So Well
First, using fresh, roasted pumpkin instead of canned gives this pie a deeper, richer flavor. Also, a mix of warm spices like cinnamon, ginger, and cloves brings out that classic pumpkin pie taste everyone loves.
Plus, this is genuinely the best pumpkin pie for anyone who wants that traditional, custardy texture without a complicated process.
What You’ll Need
Here’s everything for this recipe, split into the crust and the filling.
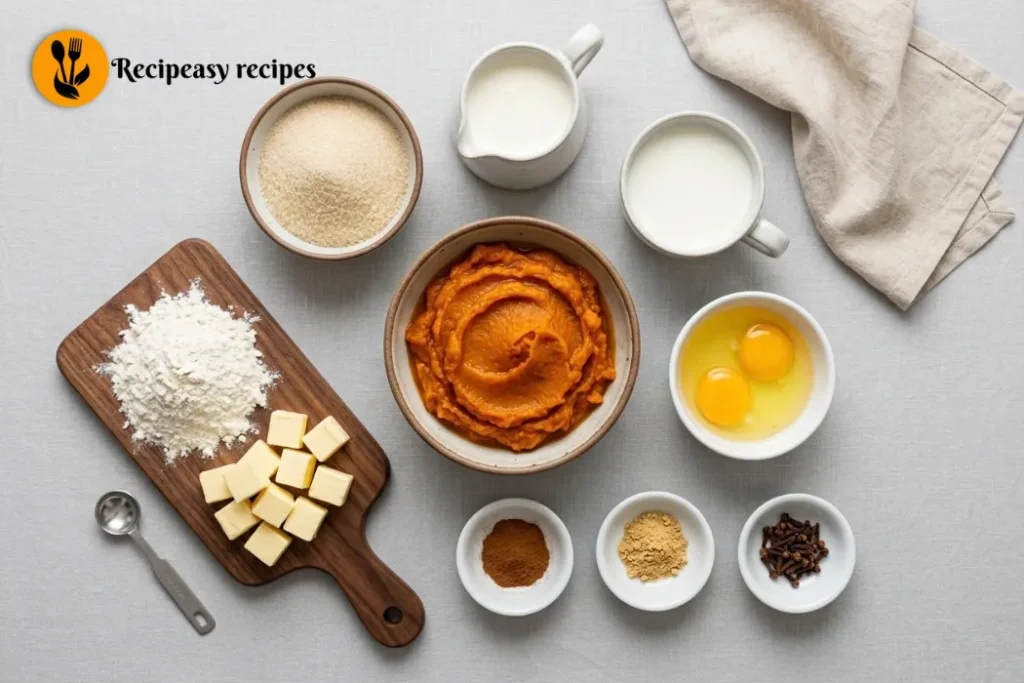
For the crust:
- 1 1/4 cups all-purpose flour
- 1/2 teaspoon salt
- 1/2 cup cold butter, cubed
- 3 to 4 tablespoons ice water
For the filling:
- 2 cups pumpkin puree
- 3/4 cup granulated sugar
- 1/2 teaspoon salt
- 1 teaspoon ground cinnamon
- 1/2 teaspoon ground ginger
- 1/4 teaspoon ground cloves
- 2 large eggs
- 1 cup heavy cream
- 1/2 cup milk
Since this pumpkin pie recipe with fresh pumpkin depends on the pumpkin itself, choose a small sugar pumpkin instead of a large carving pumpkin. Sugar pumpkins are sweeter and less watery, which makes a real difference in the final texture.
How to Make Pumpkin Pie From Scratch
This recipe has a few steps, but none of them are difficult. Just take it one part at a time.
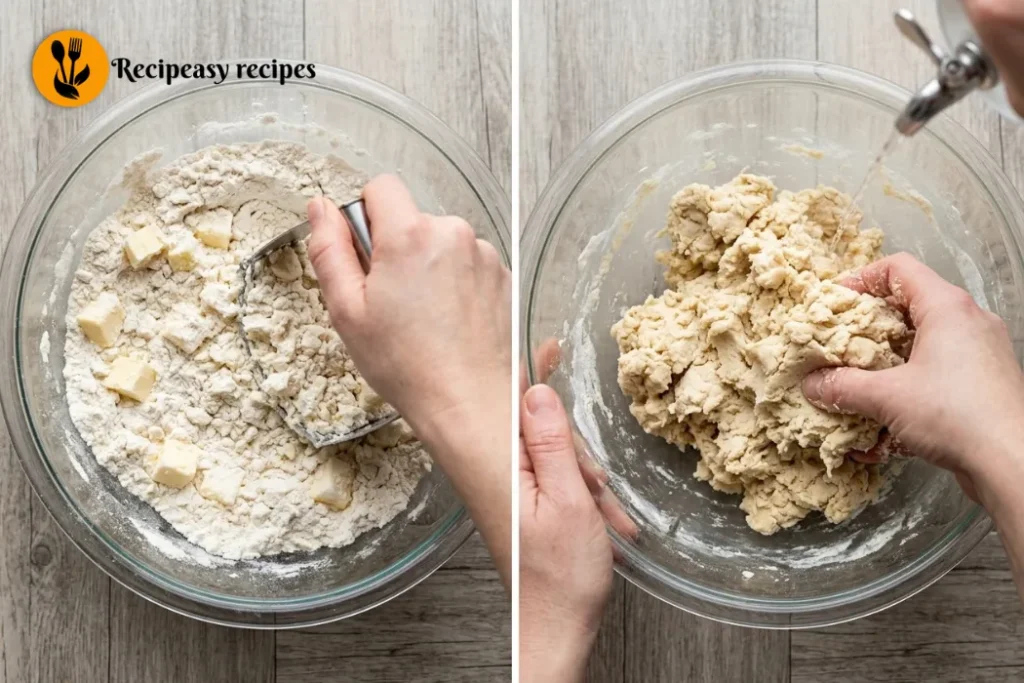
Step 1: Make the crust.
In a bowl, mix the flour and salt. Then cut in the cold butter using a pastry cutter or your fingers, until the mixture looks like coarse crumbs.
Step 2: Add the water.
Add the ice water one tablespoon at a time, mixing gently until the dough comes together. Then shape it into a disc, wrap it in plastic, and chill it for at least 30 minutes.
Step 3: Roast the pumpkin.
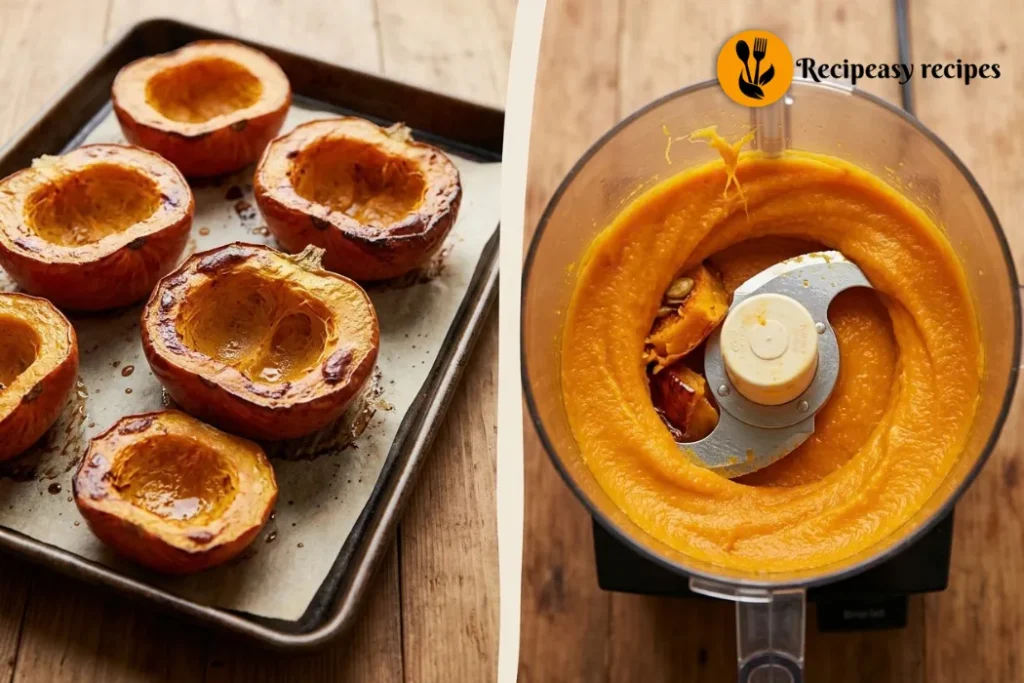
Cut your sugar pumpkin in half, scoop out the seeds, and place it cut-side down on a baking sheet. Roast at 400°F for 40 to 50 minutes, until fork-tender.
Step 4: Puree the pumpkin.
Once cooled, scoop the flesh away from the skin and blend it until smooth. If it looks watery, strain it through a fine mesh strainer for about 30 minutes.
Step 5: Roll out the crust.
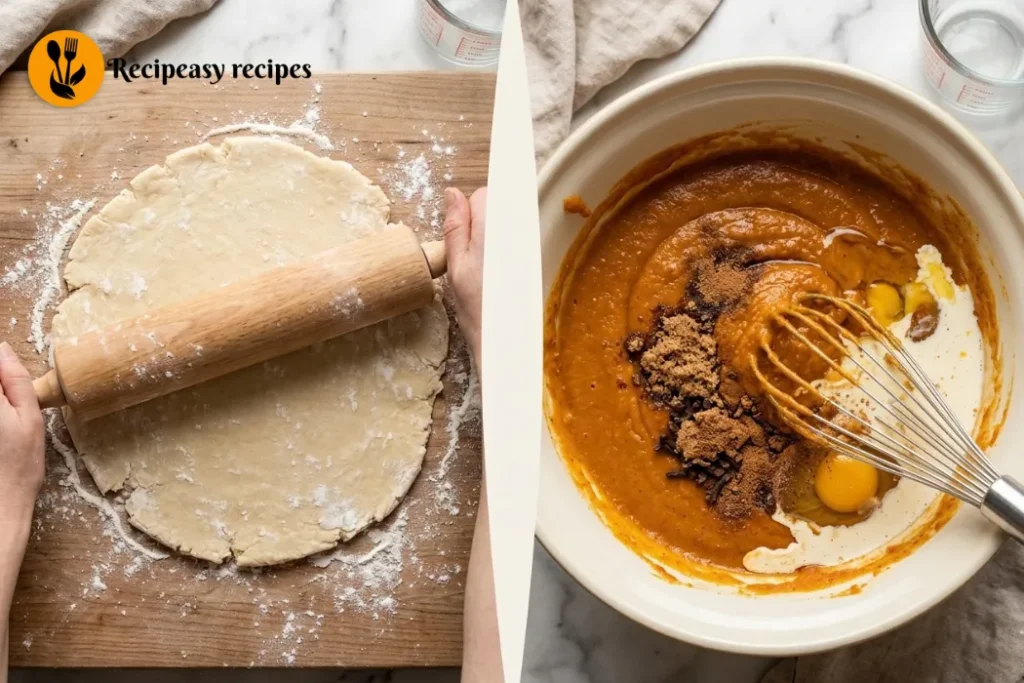
On a floured surface, roll the chilled dough into a circle. Then transfer it to a 9-inch pie dish, trimming and crimping the edges as needed.
Step 6: Mix the filling.
In a large bowl, whisk together the pumpkin puree, sugar, salt, cinnamon, ginger, and cloves. Then add the eggs, cream, and milk, whisking until smooth.
Step 7: Fill the crust.
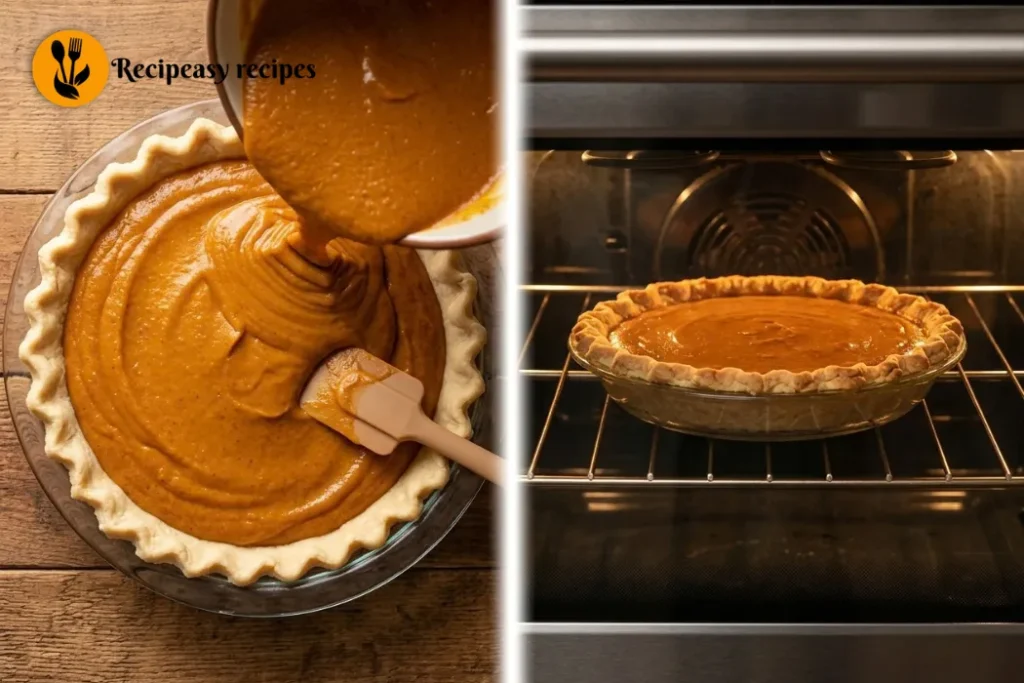
Pour the filling into the prepared pie crust, smoothing the top with a spatula.
Step 8: Bake.
Bake at 425°F for 15 minutes. Then reduce the oven temperature to 350°F and continue baking for 40 to 50 minutes, until the center is just barely set and still jiggles slightly when shaken.
Step 9: Cool completely.
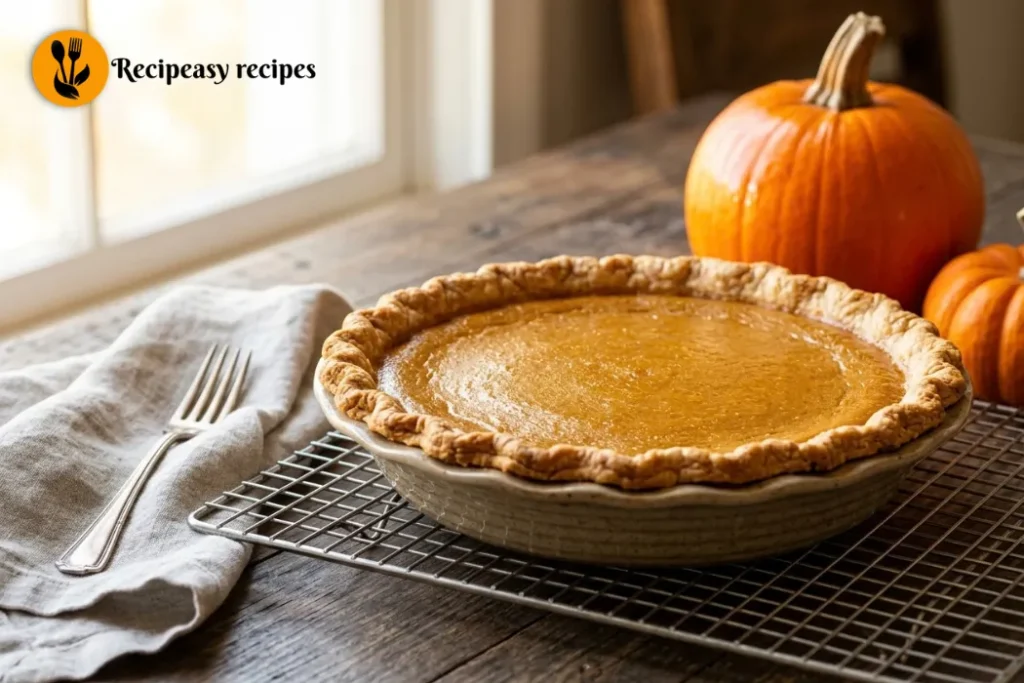
Let the pie cool on a wire rack for at least 2 hours before slicing. This step really matters, since the filling continues to set as it cools.
Tips for the Best Results
Since overbaking can cause the filling to crack, pull the pie from the oven while the center still has a slight jiggle. It will continue to firm up as it cools.
Also, don’t skip chilling the crust before rolling it out. A cold dough is much easier to work with and helps prevent it from shrinking while baking.
For a truly classic pumpkin pie, straining your pumpkin puree makes a noticeable difference. It removes excess moisture, giving you a smoother, creamier filling.
Additionally, placing a pie crust shield or strips of foil around the edges partway through baking can prevent the crust from browning too quickly.
Making It Ahead for Thanksgiving
Since this Thanksgiving pumpkin pie can be made a day in advance, it’s a great way to save time on a busy holiday. Simply bake the pie, let it cool completely, then cover and refrigerate it until you’re ready to serve.
Bringing it to room temperature, or serving it slightly chilled, both work perfectly well for this pie.
What to Serve With Pumpkin Pie
This pie pairs perfectly with a dollop of freshly whipped cream on top. A light drizzle of caramel sauce also adds a nice touch for a more indulgent dessert table.
For a full fall spread, serve it alongside other classic desserts like apple crisp or pecan pie.
Storing Your Pie
Once cooled, cover the pie and store it in the refrigerator for up to 4 days.
For longer storage, this homemade pumpkin pie freezes well too. Wrap it tightly in plastic wrap and foil, then freeze for up to 2 months. Thaw it in the fridge overnight before serving.
Common Questions
Can I use canned pumpkin instead of fresh?
Yes, canned pumpkin works as a direct swap and saves time, though fresh pumpkin gives a slightly deeper flavor.
Why did my pie crack on top?
This usually means the pie was overbaked. Pull it from the oven while the center still has a slight jiggle.
Can I make the crust ahead of time?
Absolutely. The dough can be made up to 2 days in advance and kept wrapped in the fridge until you’re ready to roll it out.
Why is my filling watery?
This often means the pumpkin puree wasn’t well-drained. Straining it before mixing helps remove excess liquid.
Final Thoughts
At the end of the day, The Pumpkin Pie Recipe above proves that a homemade pie is well worth the extra effort. It’s smooth, it’s perfectly spiced, and it brings real fall flavor to your table. So the next time the holidays roll around, give this one a try. It might just become your new Thanksgiving tradition.