
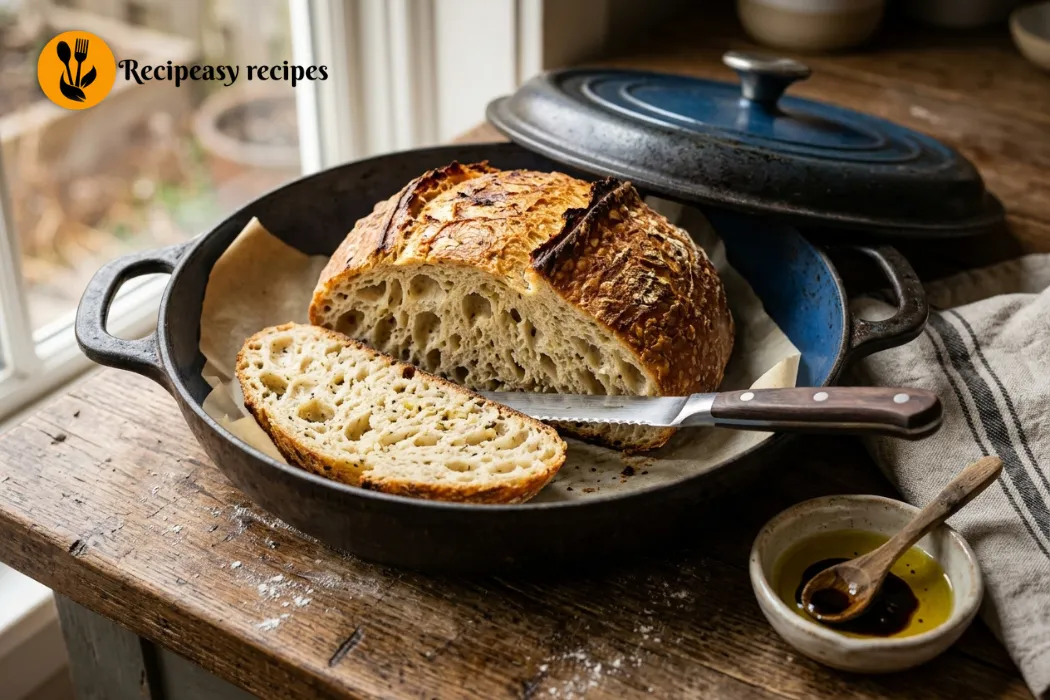
No-Knead Garlic Herb Dutch Oven Bread
If you love the smell of fresh bread filling your kitchen but hate the idea of kneading dough for ages, this No-Knead Garlic Herb Dutch Oven Bread is exactly what you need. It’s crusty on the outside, soft on the inside, and packed with garlic flavor in every single bite.
Since this bread mostly makes itself while you go about your day, it’s one of the easiest ways to ease into homemade bread baking. So even if you’ve never baked bread before, this recipe is a genuinely great place to start.
Why No-Knead Bread Works So Well
First, this method skips kneading entirely by giving the dough plenty of time to rest instead. Also, because it sits for so many hours, the gluten develops on its own, which means you get that same chewy, airy texture without doing any of the work yourself.
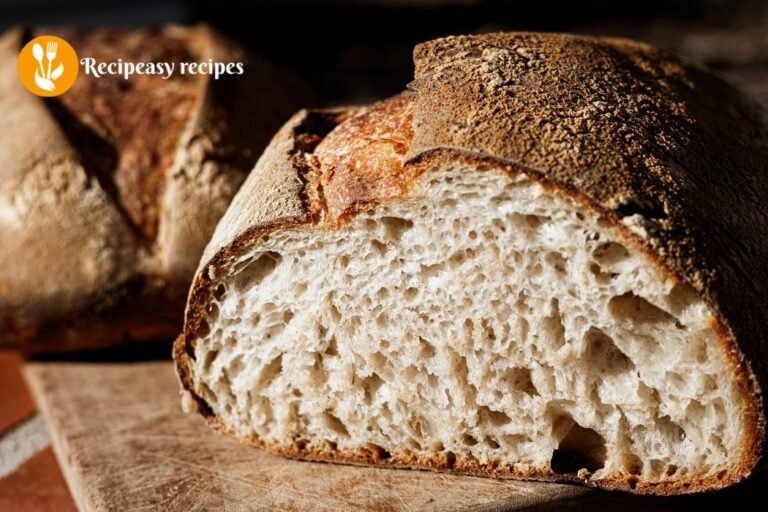
Plus, baking it inside a Dutch oven traps steam around the loaf as it bakes, which is exactly what gives this easy artisan bread its signature thick, crackly crust.
What You’ll Need
Here’s everything for this recipe. Nothing here is hard to find.
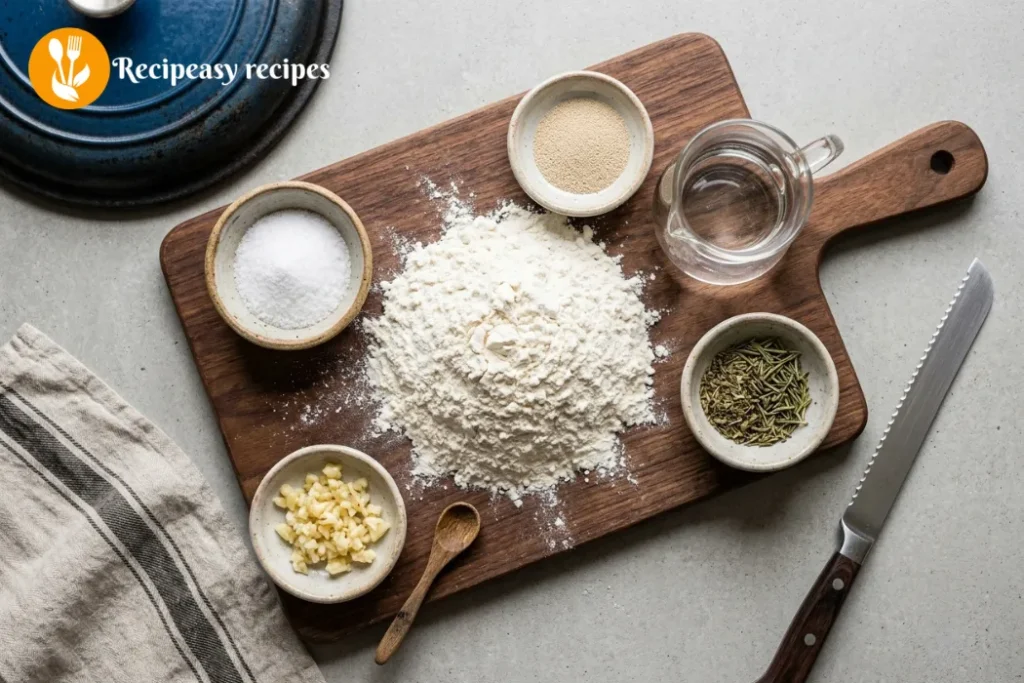
- 3 cups all-purpose flour
- 2 teaspoons salt
- 1/2 teaspoon instant or active dry yeast
- 1 1/2 cups warm water
- 4 cloves garlic, minced
- 1 tablespoon dried herbs (such as rosemary, thyme, or Italian seasoning)
- Extra flour, for shaping
Since this garlic herb bread relies on just a small amount of yeast, don’t worry if the dough looks a little lifeless at first. The long rise time is what does all the heavy lifting here, not a big dose of yeast.
How to Make No-Knead Garlic Herb Bread
This dutch oven bread recipe really just comes down to mixing, waiting, and baking.
Step 1: Mix the dry ingredients.
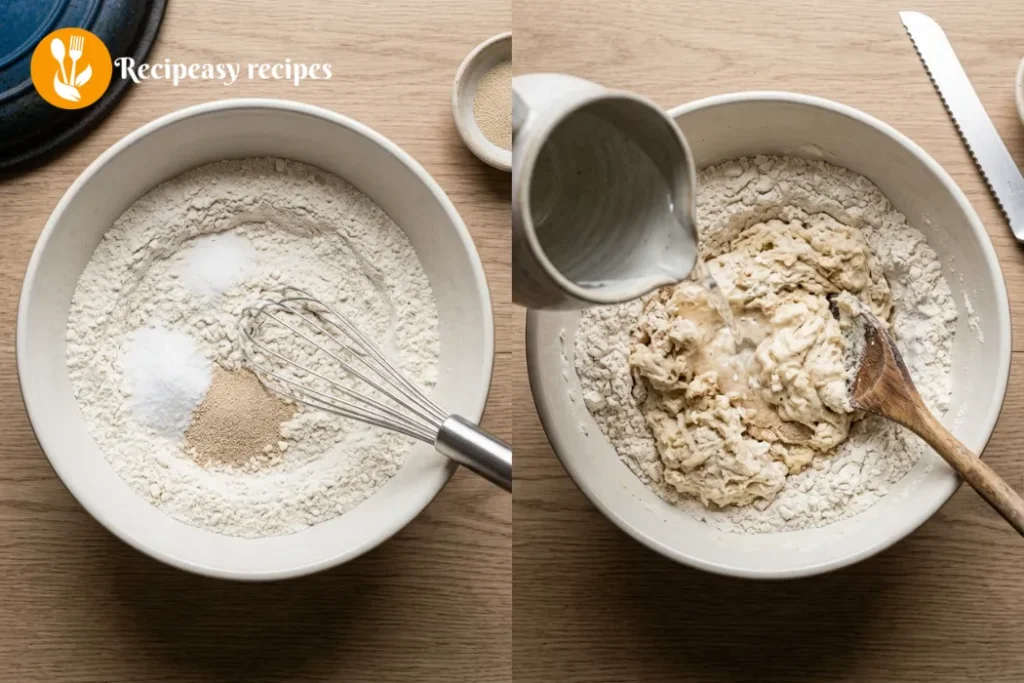
In a large mixing bowl, whisk together the flour, salt, and yeast until evenly combined.
Step 2: Add the water.
Pour in the warm water, then stir until a shaggy, rough dough forms. It’ll look sticky and a little messy, and that’s exactly how it should be.
Step 3: Let it rise.
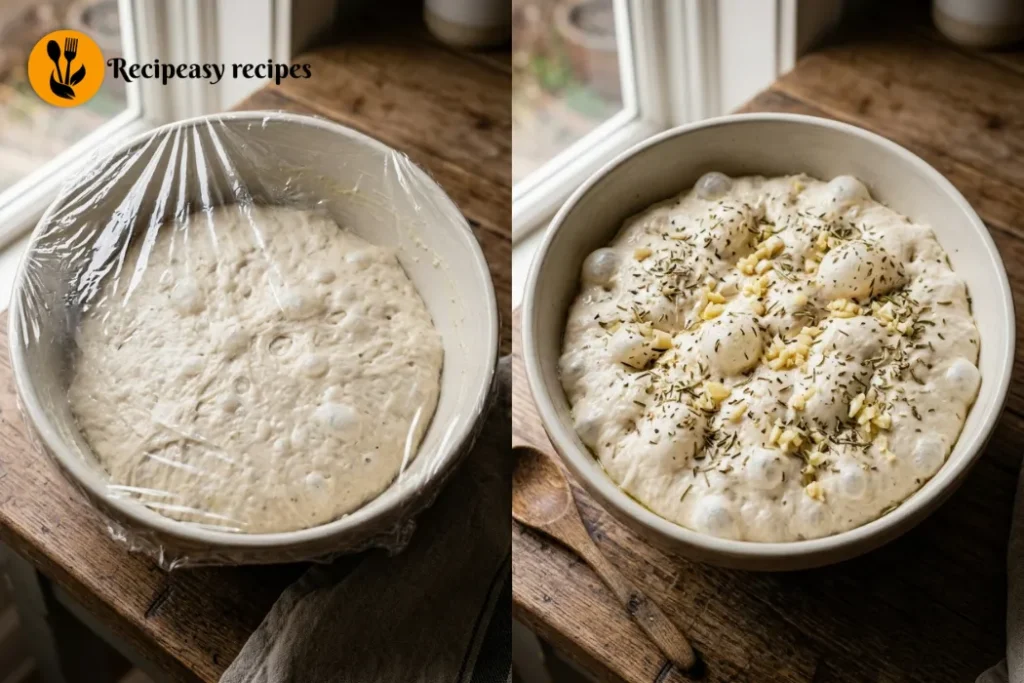
Cover the bowl with greased plastic wrap, then set it aside at room temperature for 12 to 18 hours. Making the dough the night before works especially well, so it’s ready to bake the next day.
Step 4: Add the garlic and herbs.
Once the dough has risen and looks bubbly on top, sprinkle the minced garlic and dried herbs over it.
Step 5: Shape the dough.
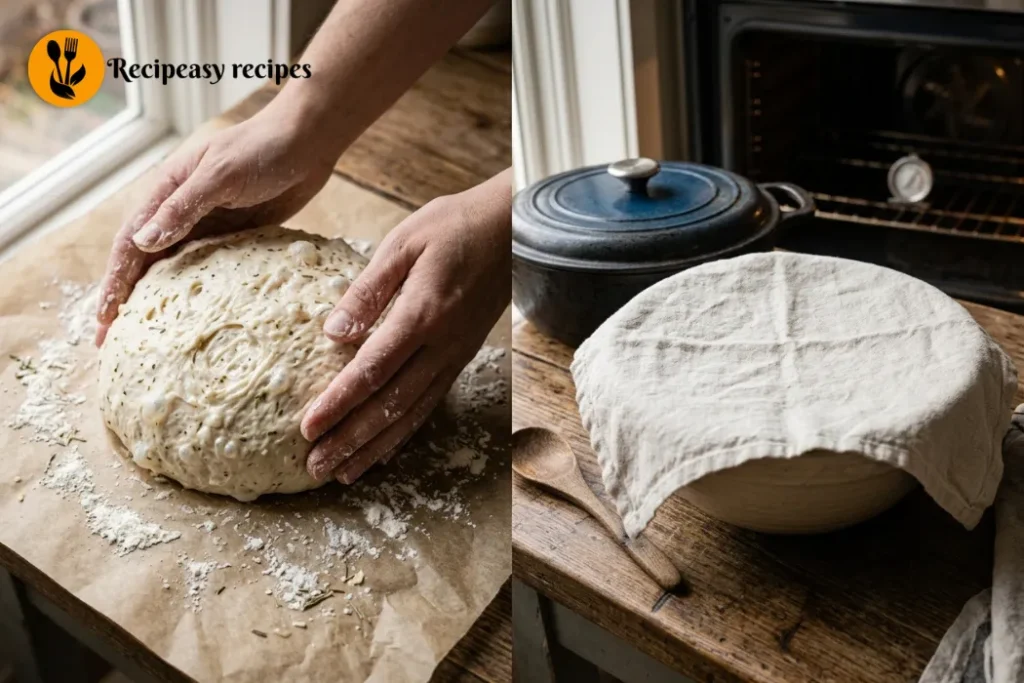
Turn the dough out onto a heavily floured surface, like parchment paper or a cutting board. With floured hands, gently shape it into a round ball, folding the garlic and herbs into the dough as you go.
Step 6: Let it rest while the oven heats.
Cover the shaped dough loosely and let it rest while you preheat your oven to 450°F. Place your Dutch oven, with the lid on, into the oven as it heats, and let it sit inside for about 30 minutes.
Step 7: Transfer the dough.
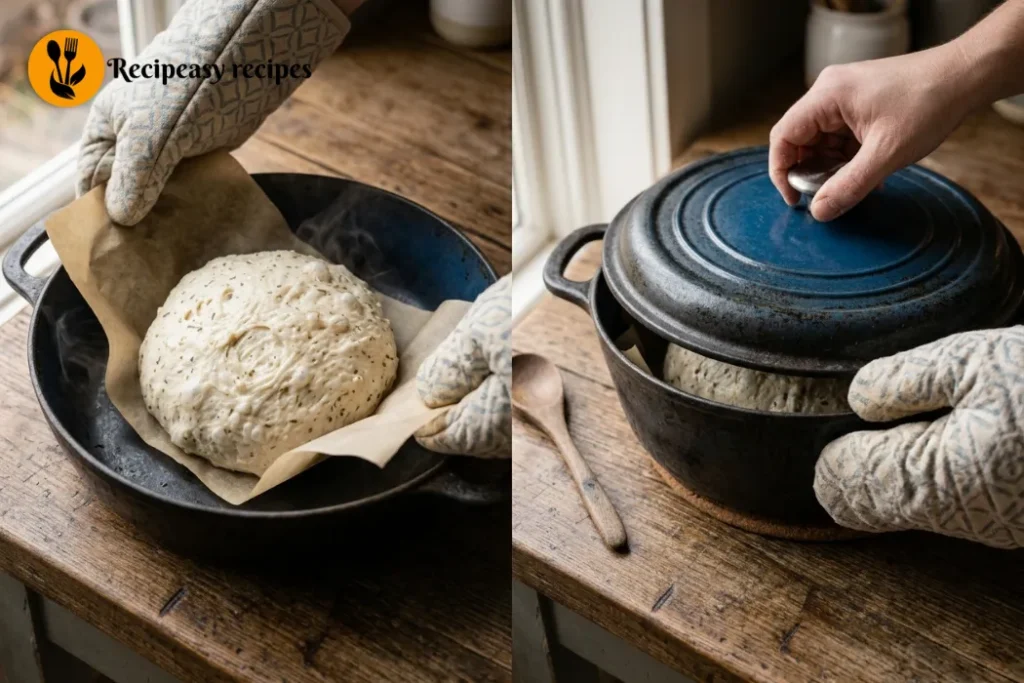
Once the pot is hot, carefully remove it from the oven. Then, using the parchment paper as a sling, lower the dough into the pot.
Step 8: Bake covered.
Cover the pot with its lid and bake for 30 minutes. Since the lid traps steam around the loaf, this is what creates that thick, crackly crust.
Step 9: Bake uncovered.
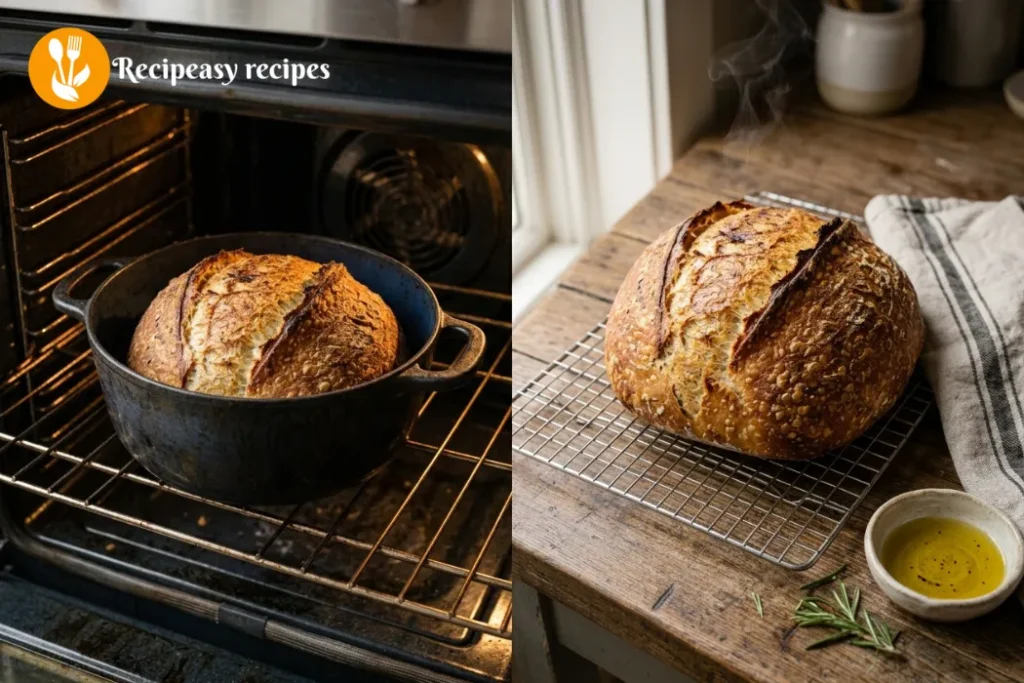
Remove the lid and continue baking for another 10 to 15 minutes, until the top turns deep golden brown.
Step 10: Cool before slicing.
Carefully remove the bread from the pot and let it cool on a wire rack for at least 20 minutes before slicing.
Tips for the Best Loaf
Since this dough needs a long, slow rise to develop flavor, try not to rush it. A full 12 to 18 hours really does make a noticeable difference compared to shorter rise times.
Also, don’t skip heavily flouring your hands and work surface when shaping the dough. Since the dough is naturally sticky, extra flour makes it much easier to handle without everything sticking to your fingers.
For a truly crusty herb bread recipe, preheating the Dutch oven itself matters just as much as preheating the oven. A hot pot gives the dough an immediate burst of heat, which helps it rise properly right from the start.
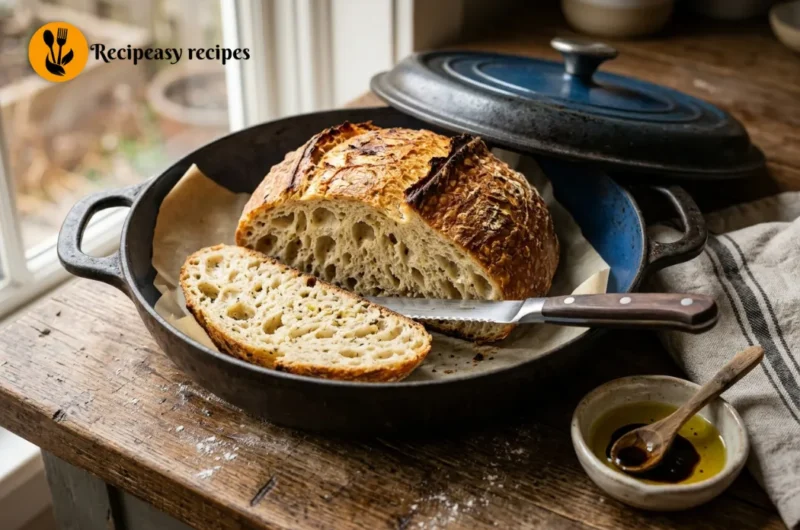
Additionally, resist the urge to slice into the bread too early. Since the inside continues cooking slightly as it cools, cutting it too soon can leave you with a gummy center instead of that light, airy crumb.
Easy Variations to Try
This no knead bread recipe is easy to customize based on what you’re craving.
For instance, swap the dried herbs for fresh rosemary or thyme if you have some on hand, using about three times the amount since dried herbs are more concentrated. Or, if you want a deeper, sweeter garlic flavor, roast the garlic first before folding it into the dough.
Additionally, a sprinkle of grated parmesan mixed in with the garlic and herbs adds a nice savory boost, especially if you’re planning to serve this bread alongside pasta.
What to Serve With It
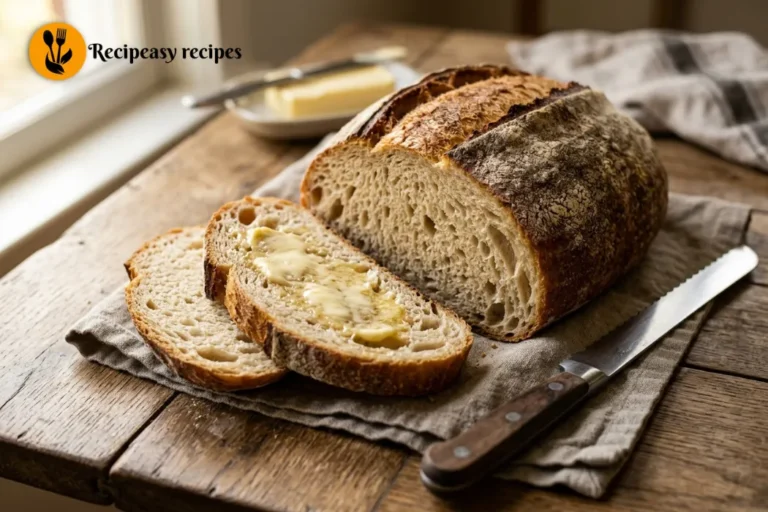
This bread pairs perfectly with pasta, soups, or stews, since it’s great for soaking up extra sauce or broth. It also works wonderfully on its own, sliced thick and slathered with warm butter.
For a simplec try serving it alongside a small dish of olive oil and balsamic vinegar for dipping.
Storing Your Bread
Once completely cooled, store the bread at room temperature in a paper bag or loosely wrapped in a kitchen towel for up to 2 days. This helps keep the crust crisp instead of turning soft.
For longer storage, slice the loaf and freeze it in a freezer-safe bag for up to 3 months. When you’re ready to eat a slice, just pop it in the toaster straight from frozen.
Common Questions
Can I use instant yeast instead of active dry yeast?
Yes, either works fine for this recipe. Just keep in mind that instant yeast may rise slightly faster than active dry.
Why is my dough so sticky?
This is completely normal for no-knead bread. The higher water content is exactly what creates that light, open crumb once baked.
Can I skip the Dutch oven?
A heavy, oven-safe pot with a lid works as a substitute, though the Dutch oven’s shape and even heat distribution tend to give the best results.
Can I add fresh garlic instead of minced?
Yes, minced fresh garlic cloves work perfectly here, and honestly give a stronger flavor than pre-jarred garlic.
Final Thoughts
At the end of the day, this No-Knead Garlic Herb Dutch Oven Bread proves that homemade bread doesn’t have to be complicated to taste incredible. It’s crusty, it’s packed with flavor, and it comes together with barely any hands-on effort. So the next time you’re craving something warm and homemade, give this loaf a try.
No-Knead Garlic Herb Dutch Oven Bread
Course: Appetizers, Breakfast, SnacksCuisine: AmericanDifficulty: Easy4
servings10
minutes45
minutes230
kcalIngredients
3 cups all-purpose flour
2 teaspoons salt
½ teaspoon instant or active dry yeast
1½ cups warm water
4 cloves garlic, minced
1 tablespoon dried herbs, such as rosemary, thyme, or Italian seasoning
Extra flour, for shaping
Directions
- Mix the dry ingredients: In a large mixing bowl, whisk together the flour, salt, and yeast.
- Add the water: Pour in the warm water and stir until a shaggy, sticky dough forms.
- Let the dough rise: Cover the bowl with greased plastic wrap and leave it at room temperature for 12–18 hours. The dough should become bubbly and rise noticeably.
- Add garlic and herbs: Sprinkle the minced garlic and dried herbs over the risen dough.
- Shape the dough: Turn the dough onto a heavily floured surface. With floured hands, gently shape it into a round loaf, folding the garlic and herbs into the dough as you shape it.
- Rest while the oven heats: Cover the dough loosely and let it rest while you preheat the oven to 450°F. Place the covered Dutch oven inside the oven and heat it for about 30 minutes.
- Transfer the dough: Carefully remove the hot Dutch oven. Use parchment paper as a sling to lower the shaped dough into the pot.
- Bake covered: Cover with the lid and bake for 30 minutes. The trapped steam helps create the thick, crisp crust.
- Bake uncovered: Remove the lid and continue baking for 10–15 minutes, until the bread is deep golden brown.
- Cool: Carefully remove the bread from the pot and transfer it to a wire rack. Let it cool for at least 20 minutes before slicing.
Notes
- The dough is supposed to be sticky. Avoid adding too much flour, as the high hydration helps create a light, airy crumb.
- A full 12–18 hour rise gives the bread better flavor and texture.
- Preheating the Dutch oven is important for achieving a crisp crust and good rise.
- Flour your hands and work surface generously when shaping the dough.
- Let the bread cool before slicing to prevent a gummy center.
- Roasted garlic can be substituted for fresh minced garlic for a deeper flavor.




3 Comments